Growing peppers in containers is a rewarding experience that brings fresh, homegrown produce right to your kitchen. Whether you’re planting sweet bell peppers or spicy chili varieties, this step-by-step guide will help you cultivate vibrant and productive pepper plants in pots.
Step 1: Choose the Right Pepper Varieties
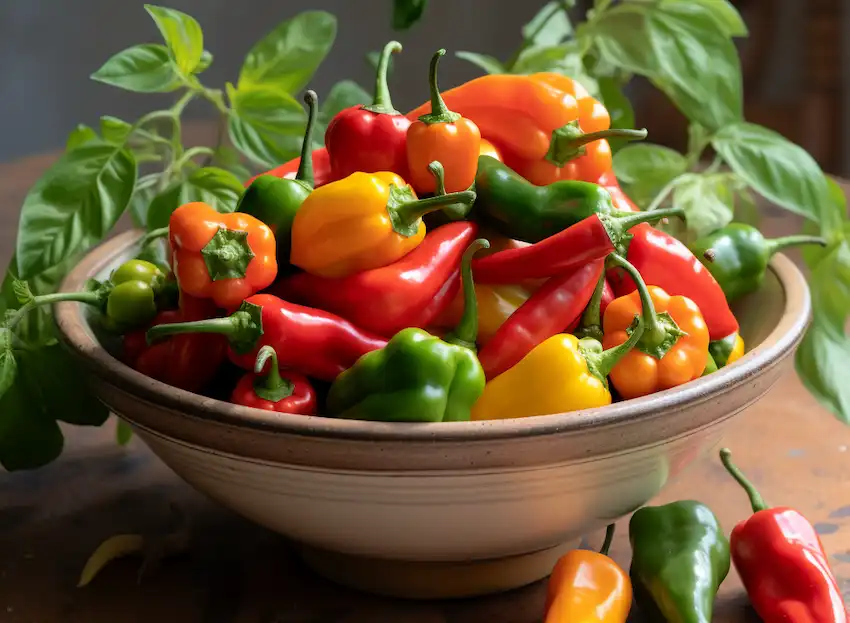
Opt for compact or dwarf pepper varieties, which thrive in containers. Popular choices include:
- Sweet Bell Peppers: Mini bell or dwarf varieties.
- Hot Peppers: Jalapeños, cayenne, or habaneros.
Compact plants are easier to manage in smaller spaces while still producing abundant yields.
Step 2: Select the Right Container
Choose pots or containers that:
- Are at least 12 inches deep to accommodate the roots.
- Have drainage holes to prevent waterlogging.
- Are made of sturdy materials like terracotta or plastic.
Larger containers retain moisture better, which is beneficial for healthy plant growth.
Step 3: Use High-Quality Potting Mix
Fill the pots with a nutrient-rich, well-draining potting mix. To improve drainage and nutrition:
- Mix in compost or organic fertilizer.
- Avoid garden soil, which may compact and harbor pests or diseases.
Step 4: Planting Seeds
- Sow the seeds 1/4 inch deep in the soil.
- Space multiple seeds 2 inches apart in the same pot.
- Water lightly to moisten the soil without saturating it.
Step 5: Germination
Pepper seeds require warmth to sprout. To encourage germination:
- Maintain a temperature of 70°F to 90°F.
- Place pots in a sunny window or use a heat mat.
- Expect sprouts within 7–14 days, depending on the variety.
Step 6: Thinning and Transplanting
Once seedlings develop 2 sets of true leaves, thin them by removing weaker plants, leaving the strongest in each pot. If you started seeds in smaller containers, transplant them into larger pots at this stage.
Step 7: Watering and Fertilizing
- Watering: Allow the top inch of soil to dry between waterings to prevent root rot.
- Fertilizing: Use a balanced, water-soluble fertilizer every 2–3 weeks, or a slow-release fertilizer mixed into the soil.
Step 8: Provide Adequate Sunlight
Peppers thrive in 6–8 hours of direct sunlight daily. If sunlight is limited:
- Use grow lights to provide supplemental lighting.
- Rotate the pots periodically for even growth.
Step 9: Pruning and Support
- Pruning: Remove lower leaves and weak branches to promote airflow and bushier growth.
- Support: Use stakes or small cages to keep plants upright as they grow and produce fruit.
Step 10: Pest and Disease Management
- Inspect regularly for pests like aphids, spider mites, and whiteflies.
- Treat infestations promptly with insecticidal soap or neem oil.
- Prevent fungal diseases by avoiding overhead watering and ensuring good airflow.
Step 11: Harvesting
- Harvest peppers when they reach the desired size and color for their variety.
- Use scissors or pruning shears to cut the peppers, avoiding damage to the plant.
- Regular harvesting encourages the plant to produce more fruit.
Final Tips for Success
- Experiment with different pepper varieties to find what grows best in your environment.
- Ensure the containers are protected from strong winds and extreme weather.
- Keep a consistent care routine, as peppers thrive on stability.
Enjoy Your Fresh Harvest
Growing peppers in pots or containers is an enjoyable way to bring fresh, flavorful produce into your home. With the right care, you’ll have a bountiful harvest to enhance your meals and snacks. From crisp bell peppers to fiery chili varieties, container gardening offers a delightful connection to nature and your food.