Hatching eggs at home is a fascinating and educational experience. While professional incubators can be expensive, creating a homemade version using a water bottle is a budget-friendly alternative. Follow this step-by-step guide to build a functional egg incubator with minimal materials.
Materials Needed
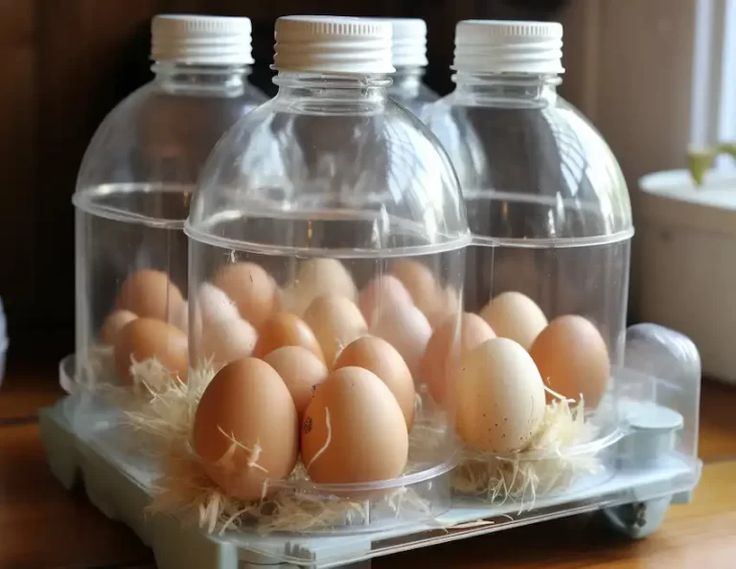
- A 5-liter (or larger) plastic water bottle
- Small light bulbs or a heat lamp
- Thermometer and hygrometer (for temperature and humidity monitoring)
- Egg carton or foam (to stabilize the eggs)
- Cutting tools (scissors or a sharp knife)
- Drill or other tools to make ventilation holes
Step-by-Step Guide
1. Prepare the Bottle
- Clean the plastic water bottle thoroughly to remove any residue or contaminants.
- Lay the bottle on its side and carefully cut a large rectangular opening on one side. This opening will act as the door to access the eggs.
2. Set Up the Heat Source
- Install small light bulbs or a heat lamp through the sides or top of the bottle. Ensure the heat source is stable and evenly positioned to provide consistent heating.
- Aim to maintain a steady temperature of 99.5°F (37.5°C) inside the incubator.
3. Ensure Egg Stability
- Place an egg carton or a piece of foam inside the bottle. These will hold the eggs securely and prevent them from rolling around during incubation.
4. Monitor Temperature and Humidity
- Install a thermometer and hygrometer to monitor the internal conditions.
- Maintain a humidity level of 45-55% during most of the incubation period. Increase it to 65-75% during the final three days before hatching.
5. Provide Ventilation
- Drill small holes around the bottle to allow for proper airflow. These ventilation holes will help regulate temperature and humidity while ensuring fresh air circulates inside.
6. Turn the Eggs Manually
- Rotate the eggs at least three times a day to ensure even development of the embryos. Mark one side of each egg with a pencil to keep track of turning.
Safety Tips
- Regularly monitor the heat source to prevent overheating, which can harm the developing embryos.
- Place the incubator in a safe, stable location, away from small children and pets.
- Always handle the eggs with clean hands to minimize the risk of contamination.
Why Build a Homemade Incubator?
Creating an incubator using a water bottle is not just a cost-effective solution but also a rewarding DIY project. It offers a hands-on way to learn about egg hatching and the care required for successful incubation. With proper attention to temperature, humidity, and turning, your homemade incubator can yield excellent results.
By following this guide, you’re well on your way to witnessing the miracle of life as chicks emerge from their shells. Enjoy the journey and happy hatching!