Cardamom, celebrated as the “Queen of Spices,” is prized for its aromatic flavor and medicinal properties. Growing your own green cardamom (Elettaria cardamomum) can be a fulfilling project for gardeners who enjoy nurturing tropical plants. This guide will walk you through the process of cultivating cardamom plants from seeds and ensuring they thrive.
Step 1: Preparing Cardamom Seeds
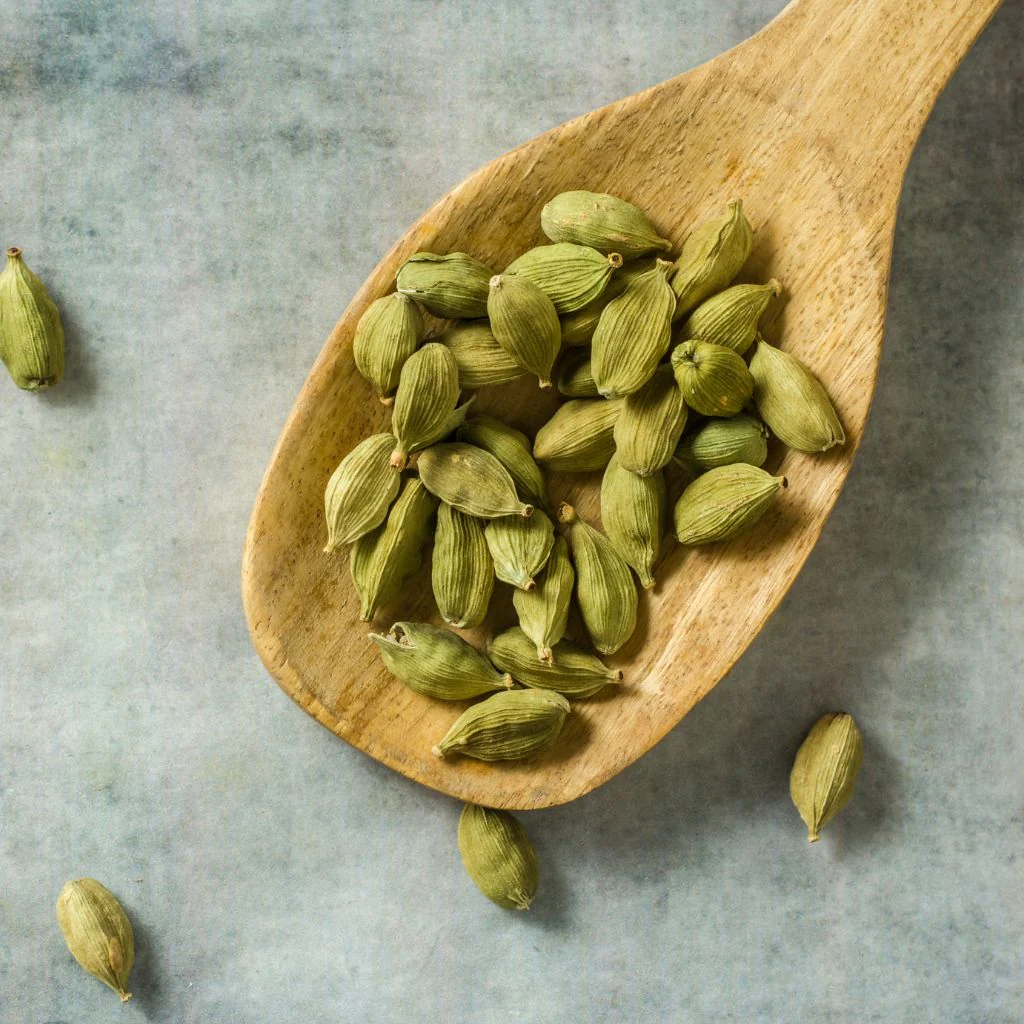
- Selecting Fresh Seeds:
- Choose fresh, viable seeds for optimal germination. If sourcing seeds from pods, ensure they are plump and free from mold or damage.
- Seeds from dried pods may have reduced viability, so opt for green cardamom pods for better success.
- Soaking the Seeds:
- Soak seeds in lukewarm water for 12–24 hours to soften their hard outer coating.
- This process accelerates germination by preparing the seeds for sprouting.
Step 2: Planting Cardamom Seeds
- Soil Preparation:
- Use a nutrient-rich, loamy soil mix with excellent drainage.
- Combine compost, sandy soil, and perlite or vermiculite for an ideal growing medium.
- Sowing the Seeds:
- Plant seeds about 1 inch deep into the soil. Cover lightly and press down gently.
- Space seeds or seedlings at least 2 feet apart, as cardamom plants grow to be large and bushy.
- Watering:
- Water the seeds thoroughly but gently to keep the soil evenly moist.
Step 3: Providing Optimal Growing Conditions
- Light Requirements:
- Cardamom thrives in indirect sunlight or partial shade, mimicking its natural habitat beneath tree canopies. Avoid direct sunlight, which can scorch the leaves.
- Temperature:
- Maintain a warm environment with temperatures between 22°C and 32°C (72°F–90°F). Avoid exposing plants to frost or cold drafts.
- Humidity:
- Cardamom plants flourish in high-humidity environments. Mist the leaves occasionally or use a humidifier if growing indoors.
- Watering:
- Keep the soil consistently moist, but avoid waterlogging to prevent root rot.
- Fertilization:
- Apply a balanced liquid fertilizer every three weeks during the active growing season (spring through summer). Organic options like compost tea are also beneficial.
Step 4: Caring for Green Cardamom Plants
- Pruning:
- Regularly prune weak, damaged, or unhealthy shoots to promote robust growth and better airflow.
- Pest Control:
- Monitor plants for pests like aphids, spider mites, or mealybugs. Treat infestations with neem oil or an organic insecticidal soap.
- Mulching:
- Apply a layer of organic mulch, such as straw or wood chips, to retain soil moisture and suppress weeds.
- Repotting:
- If growing in pots, repot the plant when it outgrows its container, usually every 2–3 years. Use a larger pot with fresh soil to ensure continued growth.
Step 5: Harvesting Cardamom Pods
- When to Harvest:
- Cardamom pods are ready for harvest when they turn pale green or yellowish-green but before they split open.
- This typically happens 2–3 years after planting, once the plant matures and begins flowering.
- How to Harvest:
- Gently pluck the pods from the plant or use a pair of sharp scissors. Handle with care to avoid damaging the plant.
- Drying and Storing:
- Dry the pods in a shaded, airy place to preserve their flavor and aroma. Store in an airtight container.
Additional Tips for Growing Cardamom
- Patience is Key: Cardamom is a slow grower and may take several years to produce pods.
- Companion Planting: Growing cardamom alongside shade-providing plants like bananas or coffee can mimic its natural habitat.
- Container Gardening: If you’re short on space, cardamom thrives in large pots as long as they offer good drainage.
Conclusion
Growing cardamom from seed is a long-term but rewarding endeavor. By providing the right conditions—rich soil, consistent moisture, indirect sunlight, and warm temperatures—you can cultivate a thriving plant that produces aromatic, flavorful pods. Whether used in your kitchen or shared as a unique gift, homegrown cardamom offers a connection to nature and the satisfaction of nurturing one of the world’s most treasured spices.
Happy gardening!