Hydroponics, which originates from the Greek words hydro (water) and ponos (labor), is a revolutionary method of growing plants without soil. Instead, plants thrive in a nutrient-rich water solution, making this an innovative and efficient way to cultivate crops, especially in space-limited or urban settings. As water conservation becomes a global priority, hydroponics has emerged as a sustainable alternative for gardeners and agricultural enthusiasts. This guide will help you design and build your own hydroponic system at home.
Why Choose Hydroponics?
Hydroponic gardening offers a host of benefits, making it a preferred choice for many:
- Faster Growth: Plants in hydroponic systems can grow up to 25% faster and yield 30% more than soil-grown counterparts due to the direct delivery of nutrients to the roots.
- Water Efficiency: Hydroponics uses up to 90% less water than traditional soil-based farming, making it a highly sustainable option.
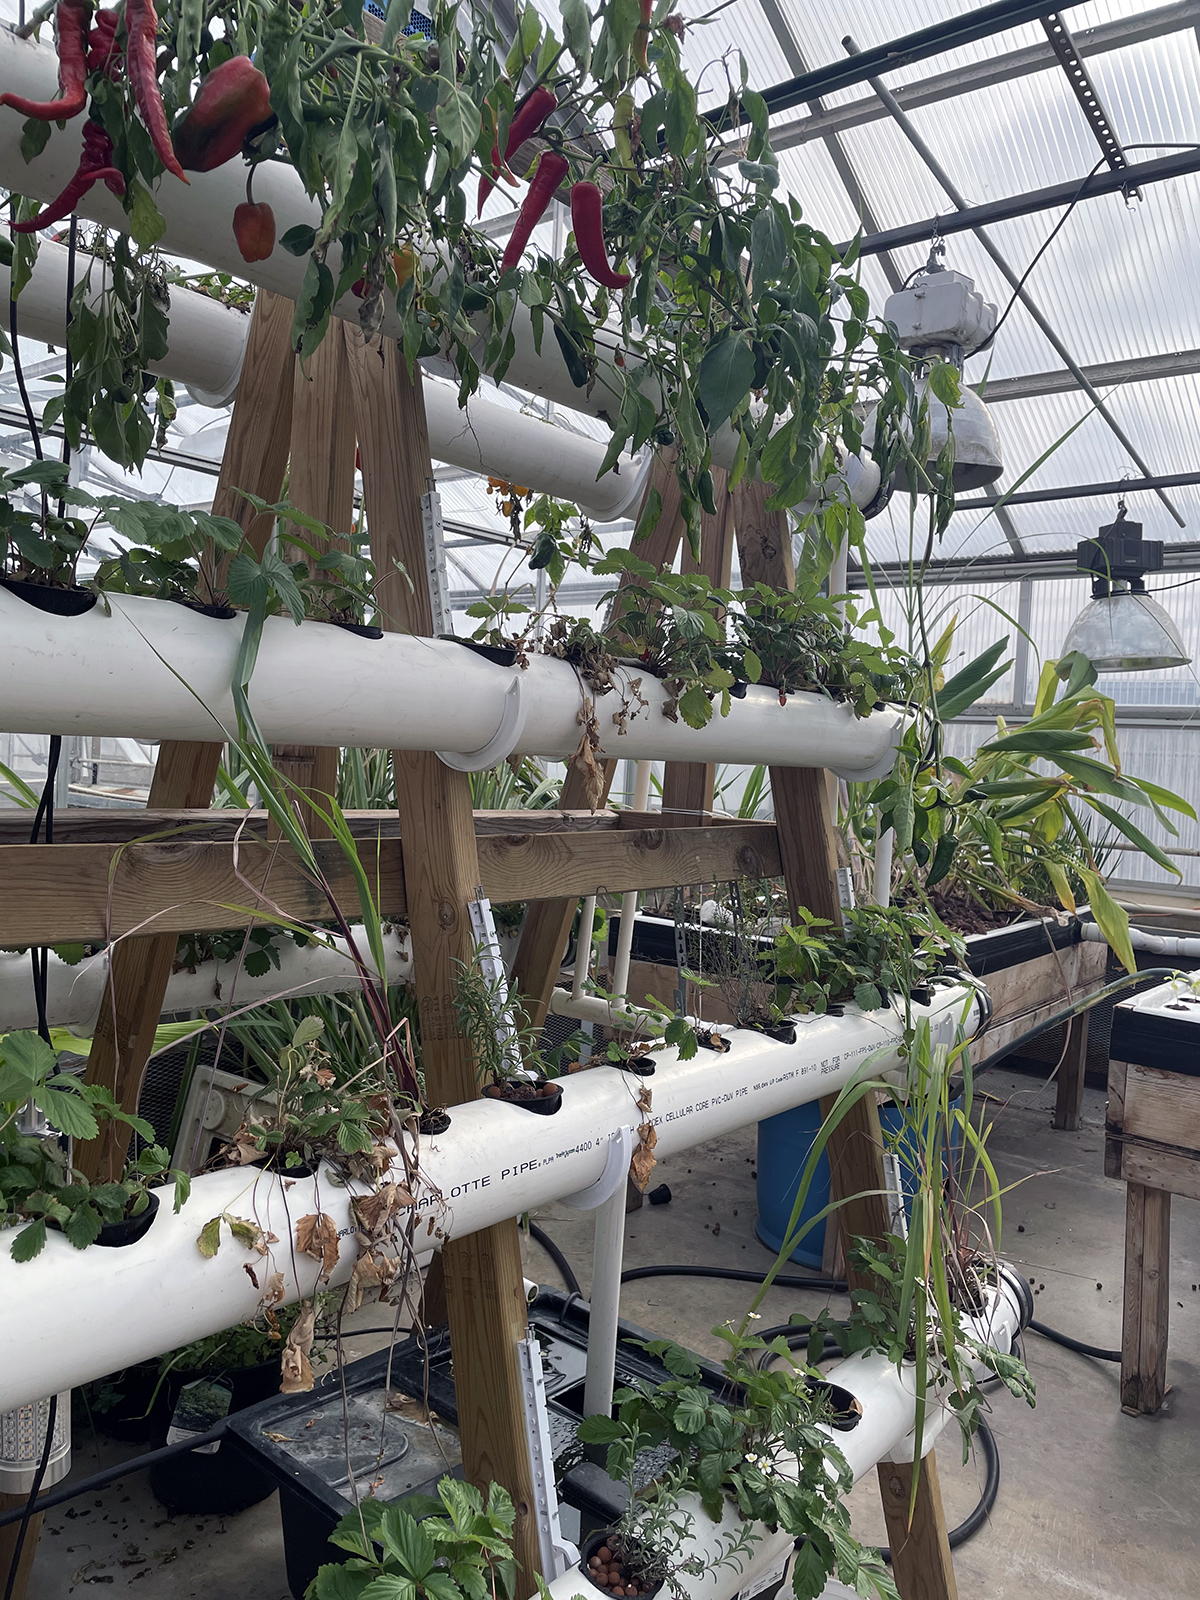
- Space Optimization: Ideal for small spaces, hydroponics allows vertical gardening and dense planting arrangements.
- Fewer Pests and Diseases: The absence of soil eliminates many common pests and soil-borne diseases.
- Year-Round Gardening: With the right setup, you can grow plants throughout the year, regardless of outdoor conditions.
Types of Hydroponic Systems
Before diving into the DIY process, it’s important to understand the main types of hydroponic systems.
- Wick System:
- Simplest and most passive setup.
- Nutrients are absorbed through wicks into the growing medium.
- Best for small plants like herbs or leafy greens.
- Deep Water Culture (DWC):
- Plants are suspended in a nutrient-rich water reservoir.
- An air pump and air stone oxygenate the water, promoting healthy root growth.
- Great for beginners due to its simplicity.
- Nutrient Film Technique (NFT):
- A thin film of nutrient solution continuously flows over plant roots in a sloped channel.
- Ideal for lightweight crops like lettuce or strawberries.
- Ebb and Flow (Flood and Drain):
- Nutrient solution periodically floods the grow tray, then drains back into the reservoir.
- Versatile for various plant sizes.
- Drip System:
- Nutrients are delivered to each plant via a timed drip line.
- Works well for larger plants like tomatoes or cucumbers.
- Aeroponics:
- Roots are suspended in the air and misted with nutrient solution.
- Advanced but efficient for maximizing oxygen delivery.
Crafting Your Own Deep Water Culture (DWC) System
A Deep Water Culture (DWC) system is one of the easiest and most effective hydroponic setups for beginners. Here’s how to create one:
Materials You’ll Need:
- Large container (e.g., a storage tub or bucket) for the reservoir.
- Aquarium air pump and air stone for oxygenating the water.
- Hydroponic nutrients (readily available at garden stores or online).
- pH control kit to maintain the proper pH level.
- Net pots or cups to hold plants.
- Growing medium (e.g., hydroton clay pebbles or rock wool).
- Plants or seeds (choose varieties suited to hydroponics, like lettuce, herbs, or tomatoes).
- Container lid or cover for holding the net pots.
Step-by-Step Instructions:
- Set Up the Reservoir:
- Fill the container with water, leaving about 1 inch of space at the top.
- This will act as your nutrient reservoir.
- Install the Air Supply:
- Attach the air stone to the air pump and place it at the bottom of the reservoir.
- This ensures the water is well-oxygenated for healthy root growth.
- Prepare the Lid:
- Cut holes in the container lid to fit the net pots snugly. The base of the pots should touch the water when inserted.
- Plant Preparation:
- If using seeds, plant them in the growing medium and place them in the net pots.
- For seedlings or cuttings, transplant them carefully into the net pots with the growing medium.
- Mix Nutrients:
- Follow the instructions on your hydroponic nutrient label to prepare the nutrient solution.
- Test and adjust the pH level of the solution to the range best suited for your plants (usually 5.5–6.5).
- Assemble the System:
- Place the net pots in the holes of the lid, ensuring the plant roots are partially submerged in the nutrient solution.
- Turn on the air pump to start oxygenating the water.
- Maintenance:
- Check the pH and nutrient levels weekly, making adjustments as needed.
- Add water periodically to maintain the reservoir’s water level.
Tips for Success
- Lighting: Most plants need 12–16 hours of light daily. If natural light is insufficient, invest in LED grow lights.
- Temperature Control: Maintain an environment between 68°F to 72°F (20°C to 22°C) for optimal plant growth.
- Cleanliness: Regularly clean the reservoir and replace the nutrient solution every 2–3 weeks to prevent algae growth and nutrient imbalances.
- Daily Monitoring: Inspect your plants for signs of nutrient deficiencies, pests, or diseases, and address issues promptly.
Conclusion
Building your own hydroponic system is an exciting and rewarding project that allows you to grow fresh, nutrient-rich produce at home. Whether you’re a beginner or a seasoned gardener, this sustainable method of cultivation offers unmatched control over plant growth and resource usage. With consistent care and attention, your DIY hydroponics system will provide a bountiful harvest year-round.
Start crafting your system today, and enjoy the benefits of soil-free gardening! Happy growing!