Bean sprouts are a healthy and versatile ingredient that can enhance many dishes, from salads and stir-fries to sandwiches. While store-bought sprouts are convenient, growing your own at home is a rewarding, cost-effective, and eco-friendly way to ensure a fresh and continuous supply. Using simple materials like plastic bottles, you can cultivate crisp, white bean sprouts in just a few days. Here’s a detailed guide to help you get started.
What You’ll Need
To grow bean sprouts at home, gather the following items:
- Green beans (mung beans work best)
- Warm water
- Three large plastic bottles (at least 5 liters each)
- One small plastic bottle (for use as a funnel)
- A drill or sharp tool (to create holes in bottle caps)
- Towels
- A knife or scissors
Step-by-Step Instructions
1. Soak the Beans
Start by cleaning your mung beans thoroughly to remove any dirt or impurities. Place them in a bowl and cover them completely with warm water. Let the beans soak for approximately four hours. This soaking step activates the sprouting process by hydrating the beans.
2. Prepare the Bottles
While the beans are soaking, get your plastic bottles ready:
- Remove the caps and drill or poke small holes in them to allow airflow.
- These ventilation holes are essential for the sprouts to grow in a healthy, oxygenated environment.
3. Transfer the Beans
Once the beans are soaked:
- Use a small plastic bottle as a makeshift funnel by cutting off its top portion.
- Pour the hydrated beans into the large bottles, ensuring they are evenly distributed among the three containers.
4. Create the Ideal Growing Environment
- Secure the perforated caps on the large bottles.
- Wrap each bottle in a towel to keep the beans in a dark, moist environment, which is crucial for sprouting. Slightly dampen the towels by spraying them with water for optimal conditions.
5. Maintain the Sprouts
Over the next four days, follow this care routine:
- Water the beans three times daily. Pour water into the bottles, let the beans soak for about five minutes, then drain the excess.
- After draining, keep the bottles inverted to prevent waterlogging.
- Re-wrap the bottles with damp towels to maintain darkness and humidity.
6. Harvest Your Sprouts
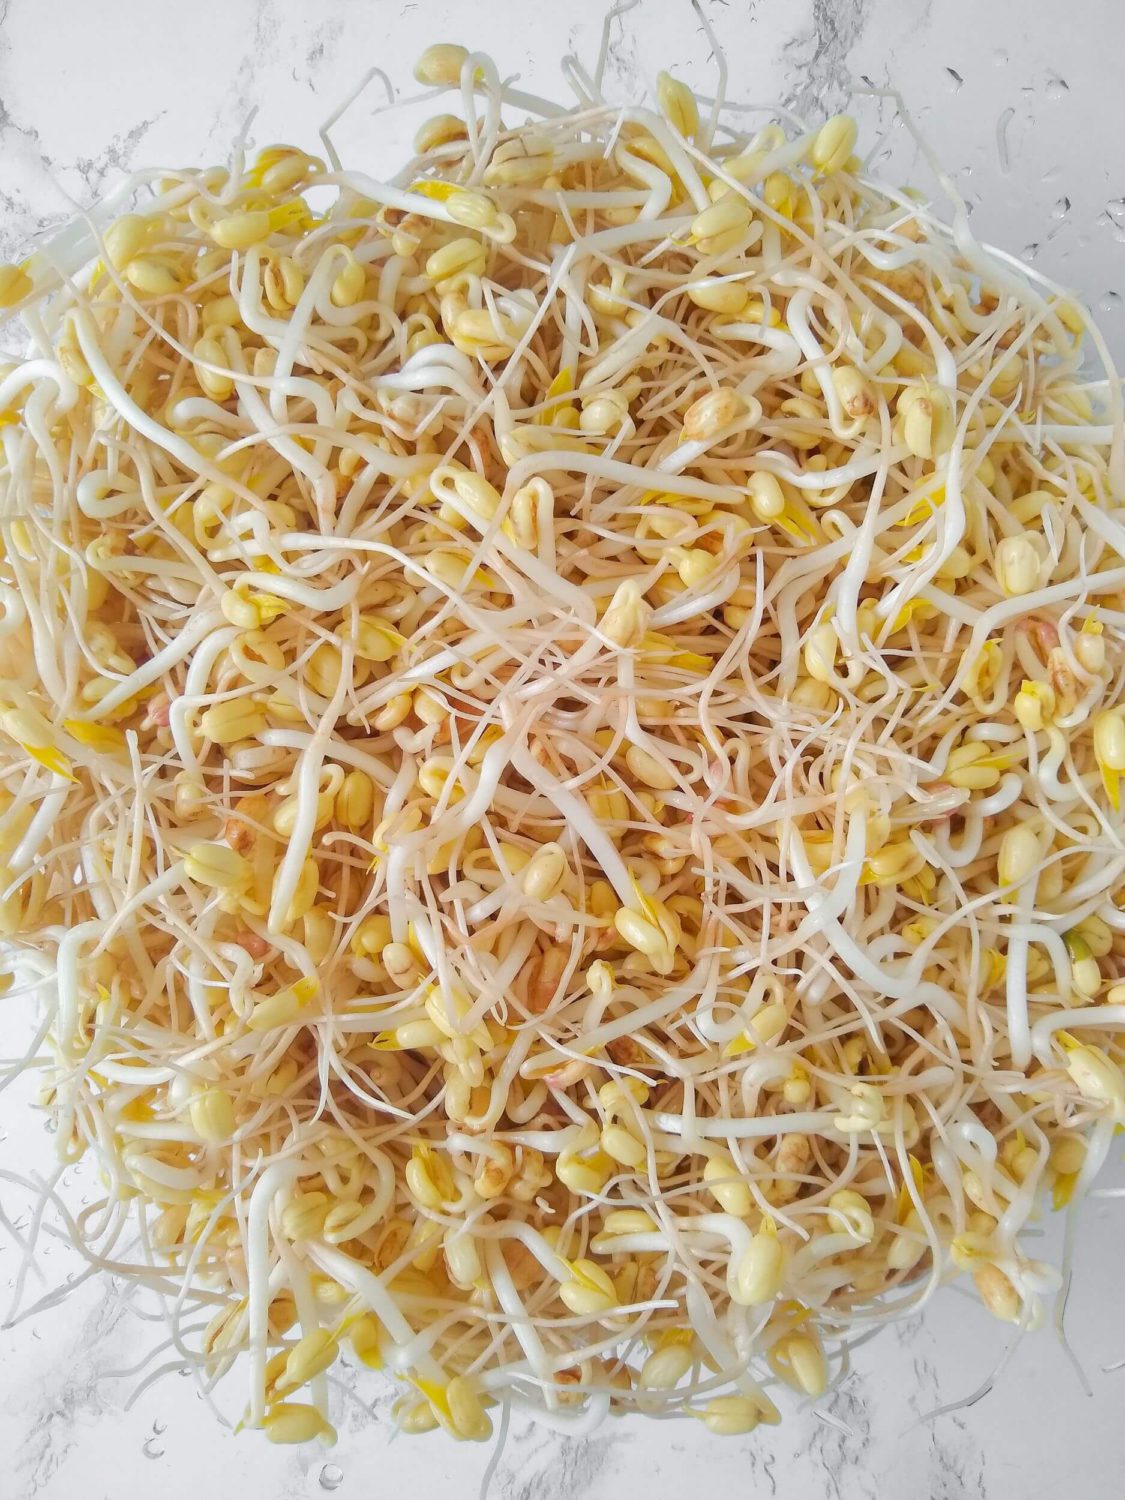
After four days, your bottles will be filled with plump, white bean sprouts. To harvest:
- Carefully cut open the bottles to avoid damaging the delicate sprouts.
- Rinse the sprouts thoroughly to remove any residue.
Your freshly grown sprouts are now ready to use! Add them to your favorite dishes to enjoy their crisp texture and nutritional benefits.
Why Grow Bean Sprouts at Home?
- Freshness: You’ll always have a supply of the freshest sprouts possible.
- Cost-Effective: Save money by growing your own rather than buying store-bought options.
- Eco-Friendly: Reuse plastic bottles, reducing waste while creating something useful.
Growing bean sprouts at home using plastic bottles is not just simple—it’s incredibly satisfying. With just a little effort, you can enjoy fresh, nutrient-rich sprouts that elevate your meals and contribute to a healthier lifestyle.
Happy sprouting!