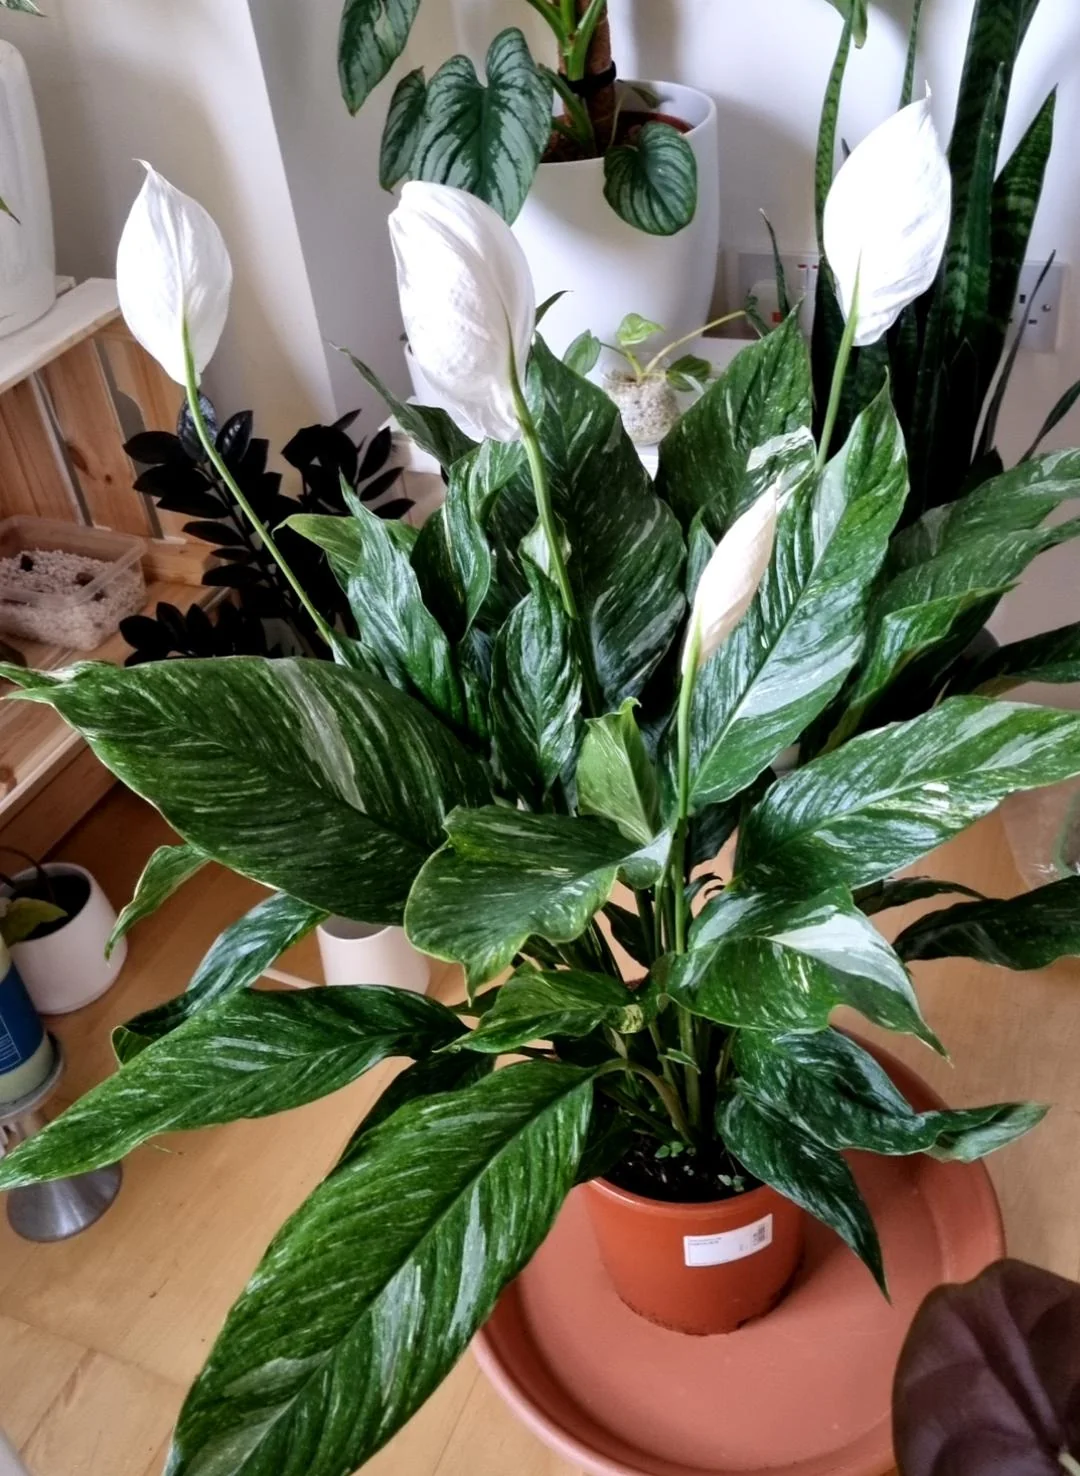
Watering your peace lily (Spathiphyllum) may seem like a simple task, but there’s a science to getting it right. This elegant houseplant is beloved for its lush green foliage and stunning white flowers, but it’s also notoriously sensitive to watering mistakes. Many plant owners unintentionally harm their peace lilies by overwatering, underwatering, or using improper techniques, leading to issues like yellowing leaves, wilting, and even root rot. With the right knowledge and practices, however, you can keep your peace lily thriving and radiant.
This guide will delve deep into the watering needs of peace lilies, addressing common mistakes, and providing actionable tips to ensure your plant’s long-term health.
Why Proper Watering Matters
Watering is not just about quenching a plant’s thirst—it’s about maintaining balance. For peace lilies, this balance lies in keeping the soil consistently moist but never soggy. The delicate root system of peace lilies is prone to damage from extremes, whether it’s too much water or too little.
Improper watering can lead to:
- Overwatering Issues: Root rot, yellowing leaves, and soggy soil are telltale signs of overwatering. This condition suffocates the roots, preventing them from absorbing oxygen and nutrients.
- Underwatering Issues: Drooping leaves and dry, compacted soil occur when the plant is left without sufficient moisture. While peace lilies can recover from occasional underwatering, chronic neglect can lead to irreparable damage.
By mastering the art of watering, you can avoid these problems and allow your peace lily to flourish.
Step 1: Understanding Peace Lily Watering Needs
In their natural tropical rainforest habitat, peace lilies grow under the dense canopy of larger trees, thriving in humid, shaded conditions with consistent moisture. This means:
- They prefer indirect light and moderate humidity.
- Their soil needs to mimic their natural environment—moist but not waterlogged.
While peace lilies are relatively hardy, understanding their natural tendencies is key to providing the right care.
Step 2: How to Determine When to Water
Timing is everything when it comes to watering your peace lily. Here are some foolproof methods to assess whether it’s time to water:
The Finger Test
Insert your finger about an inch into the soil:
- Dry Soil: If it feels dry, it’s time to water.
- Moist Soil: If it’s still damp, wait a day or two and check again.
Leaf Observation
Peace lilies are communicative plants and will signal their needs:
- Drooping Leaves: A telltale sign that the plant needs water. Once watered, the leaves usually perk up within hours.
- Yellowing Leaves: This could indicate overwatering or poor drainage.
Pot Weight Test
Over time, you’ll notice the difference in weight between a well-watered peace lily and one that’s dry. Use this as an additional clue.
Step 3: Watering Technique
When it’s time to water, how you do it matters:
1. Water Thoroughly
- Water until you see it draining out of the bottom of the pot. This ensures all roots receive adequate hydration.
- Avoid light surface watering, which can lead to shallow root growth.
2. Avoid Splashing Leaves
Wet leaves can become a breeding ground for fungal diseases. Always direct the water to the base of the plant.
3. Allow Excess Water to Drain
Peace lilies dislike sitting in water. Empty the saucer under the pot after watering to prevent the roots from soaking.
Step 4: Choosing the Right Water
The quality and temperature of water are often overlooked but critical aspects of peace lily care:
1. Room-Temperature Water
Cold water can shock the roots, while hot water can scald them. Use lukewarm or room-temperature water.
2. Filtered or Distilled Water
Peace lilies are sensitive to the chemicals in tap water, such as chlorine and fluoride. If possible, use filtered, distilled, or rainwater. Alternatively, let tap water sit for 24 hours to allow chlorine to evaporate.
Step 5: Adjusting for Seasonal Changes
Like all plants, peace lilies have seasonal watering needs:
Growing Season (Spring and Summer)
- Water more frequently, as the plant actively grows and uses more moisture.
- Check the soil every 2-3 days to ensure it doesn’t dry out.
Dormant Period (Fall and Winter)
- Reduce watering frequency, as the plant’s growth slows down.
- Check the soil weekly and only water when it’s dry to the touch.
Step 6: Ensuring Proper Drainage
Drainage is crucial for preventing overwatering-related issues:
1. Use Pots with Drainage Holes
These allow excess water to escape, preventing the soil from becoming waterlogged.
2. Opt for Well-Draining Soil
A mix of peat moss, perlite, and standard potting soil works well for peace lilies, ensuring a balance between moisture retention and drainage.
Step 7: Recognizing and Addressing Watering Problems
Despite your best efforts, you might encounter watering-related issues. Here’s how to address them:
Signs of Overwatering
- Yellowing or browning leaves.
- A sour smell from the soil.
- Mushy roots (when examined).
Solution:
- Repot the plant in fresh, well-draining soil.
- Reduce watering frequency.
Signs of Underwatering
- Drooping, limp leaves.
- Crispy brown leaf tips.
Solution:
- Water the plant thoroughly and adjust your watering schedule.
Additional Care Tips
To complement proper watering, follow these tips for overall peace lily care:
- Lighting: Place in bright, indirect light. Avoid direct sunlight, which can scorch leaves.
- Humidity: Peace lilies love humidity. Consider misting or placing a humidifier nearby, especially in dry environments.
- Fertilization: Feed monthly with a balanced houseplant fertilizer during the growing season. Avoid over-fertilizing, which can damage roots.
Conclusion
Watering your peace lily the right way is the cornerstone of its health and beauty. By understanding its natural needs, checking the soil regularly, and watering thoroughly while maintaining good drainage, you can avoid common pitfalls and keep your plant thriving. Pair this knowledge with proper light, humidity, and seasonal adjustments to ensure your peace lily becomes a stunning, long-lived centerpiece in your home.
Happy gardening!