Pruning orchids is essential to promote healthy growth, encourage flowering, and maintain the plant’s overall health. Here’s a step-by-step guide on how to prune your orchid correctly.
Part 1: Trimming Off Dead Stems and Roots
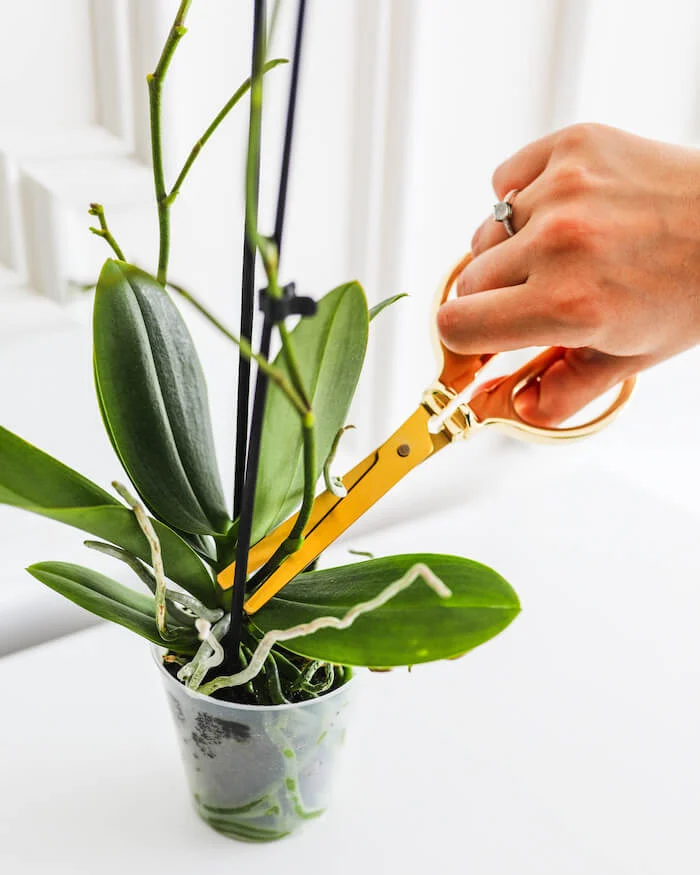
- Sterilize Your Pruning Shears
- Why: To prevent the spread of diseases.
- How: Dip your pruning shears in rubbing alcohol for 30 seconds. Open and close them to ensure the alcohol touches all surfaces. Set them to dry on a paper towel.
- Wait for All Flowers to Fall Off
- When: Don’t prune while the orchid is blooming or if healthy flowers remain on the stem. Prune only after all blooms have fallen off.
- Cut the Stem Down to Soil Level if It’s Brown
- When to prune: If the orchid’s stem is brown or yellow and shriveled, it won’t produce more flowers. Trim these stems all the way down to the soil level using sterile pruning shears.
- Trim Dead Roots
- How: Gently remove the orchid from its pot. Cut any brown, soft roots (which are dead) while leaving firm, white roots intact. This helps prevent root rot.
Part 2: Pruning to Encourage Flowering
- Sterilize Your Pruning Shears Again
- Why: Ensure clean, disease-free cuts each time you prune.
- Check the Orchid’s Health
- What to Look For: Healthy, firm, green leaves. If the leaves are limp or yellow, let the plant recover before pruning.
- Identify Dormant Eyes on Stems
- What Are They: Small brown or beige spikes, which can develop into new stems or flowers. Look for these dormant eyes before cutting.
- Locate the Second Node Below Where Flowers Bloomed
- What is a Node: A thickened area or brown line on the stem, which holds the potential for new flower spikes.
- Cut 1⁄2 in (1.3 cm) Above the Node
- Why: Cutting above the node helps encourage new flowers without damaging the potential flower spike. Ensure not to cut into any dormant eyes on the node.
- Wait for New Blooms
- When to Expect Flowers: Typically, orchids will bloom within 8-12 weeks after pruning. If there’s no sign of flowers, try lowering the temperature to stimulate growth.
Part 3: Caring for Your Orchid After Pruning
- Repot the Orchid if Needed
- When: If the orchid has outgrown its pot or roots are cramped.
- How: Choose a pot that’s 2 sizes larger than the current one and use orchid-specific, well-draining potting soil.
- Provide Adequate Light
- Where: Keep your orchid in an east or west-facing window. Orchids need bright, indirect light to thrive.
- Watering
- When: Water when the soil feels dry. Stick a finger or wooden skewer about 1 inch (2.5 cm) into the soil to check moisture.
- Fertilizing
- How: Fertilize with an orchid-specific fertilizer for 3 out of every 4 waterings. Use plain water on the fourth watering to prevent salt build-up in the soil.
Final Tips:
- Prune your orchid to maintain its health and ensure beautiful blooms.
- Always sterilize your tools to avoid plant diseases.
- Regularly check for root health, repot when necessary, and care for your orchid’s light, water, and fertilizer needs.