As urban spaces grow increasingly compact, the need for innovative gardening solutions becomes more apparent. Enter vertical gardening—a creative, sustainable approach that allows you to grow a lush garden even in the smallest spaces. Imagine turning discarded soda bottles into a stunning vertical garden that’s as functional as it is beautiful! This DIY project, inspired by Brazilian design firm Rosenbaum and TV producer Luciano Huck, combines eco-friendliness with aesthetic appeal.
The Concept and Its Origins
The idea of using everyday materials like soda bottles for vertical gardening gained prominence through a collaboration between Rosenbaum and Luciano Huck. Featured on This Is Colossal, this concept transformed homes across Brazil, breathing life into neglected spaces. Their vertical garden debuted during their 48th makeover project and quickly became a global sensation. To spread this innovation, Rosenbaum shared a step-by-step guide, originally in Portuguese, which we’ve translated for a broader audience.
Materials You’ll Need
To create your own vertical garden, gather the following:
- 2-liter plastic bottles (clean and empty)
- Scissors
- Clothesline rope, twine, or wire
- Washers (2 per bottle if using rope or wire)
- Potting soil
- Seedlings (herbs, vegetables, or flowers)
How to Make Your Vertical Garden: Step-by-Step
1. Prepare the Bottles
- Using scissors, punch two holes at the top and two at the bottom of each bottle for rope insertion.
- Add a small drainage hole at the bottom to prevent waterlogging, ensuring healthy root growth.
2. Assemble the Rope System
- Thread the rope, twine, or wire through one top hole and out through the corresponding bottom hole.
- To keep bottles stable, tie a strong knot at each hole or secure the knot around a washer. This prevents slipping.
3. Fill and Plant
- Fill each bottle with potting soil and carefully plant your seedlings. Ensure the soil is moist but not overly wet.
4. Install the Garden
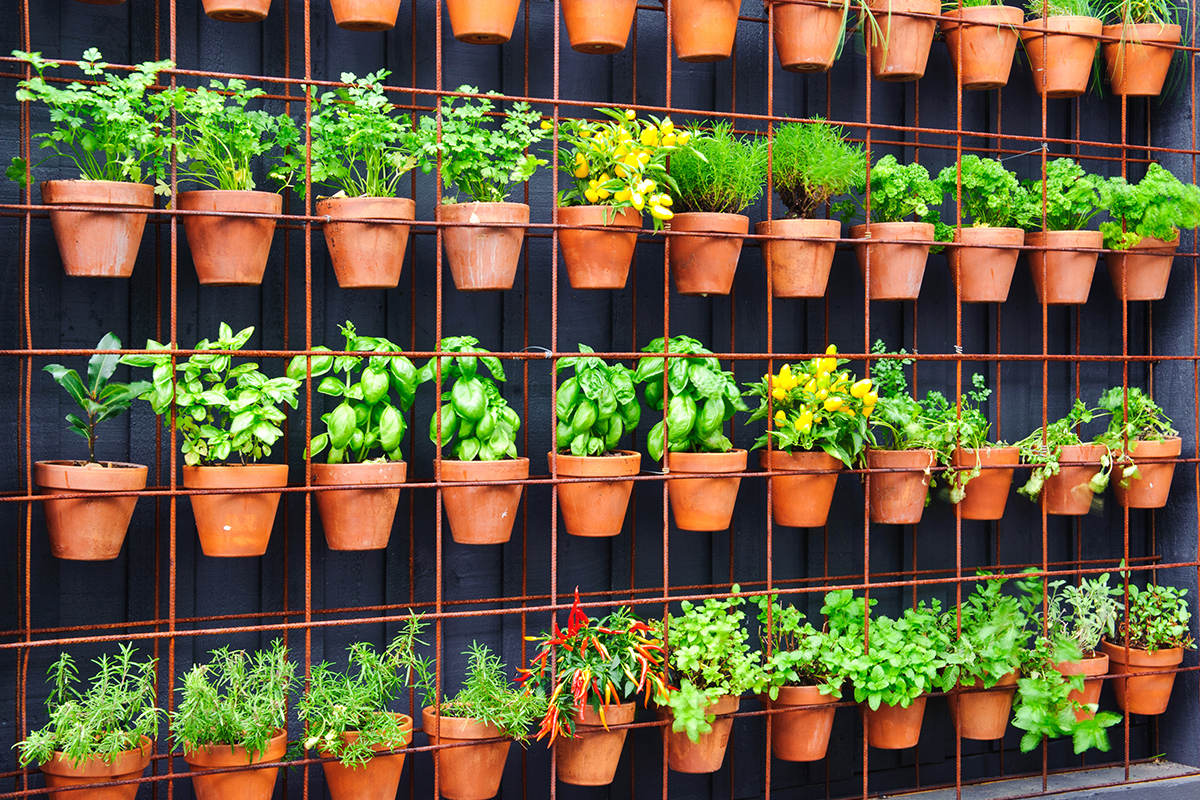
- Stretch the rope vertically along a wall, fence, or sturdy frame. Secure it tightly, spacing the bottles evenly. Your vertical garden is now ready!
Bonus DIY Project: Self-Watering Seed Starter Pots
If keeping up with watering schedules feels daunting, a self-watering system can be a lifesaver. Perfect for seedlings, this simple mechanism uses basic materials to ensure consistent hydration.
Materials Needed
- Clear plastic containers (e.g., yogurt cups)
- Cotton rope or strips of old cloth
- Potting soil
- Seedlings
Steps to Build
- Prepare the Containers
- Cut a small hole in the bottom of each container.
- Insert the Wick
- Thread a cotton rope or cloth strip through the hole, leaving one end inside the container and the other hanging out.
- Add Soil and Plants
- Fill the container with potting soil and place your seedling gently in the center.
- Set Up the Watering System
- Position the container above a shallow tray of water. The wick will absorb water and draw it into the soil, keeping it consistently moist.
Why Choose Vertical Gardening?
- Space Efficiency: Ideal for small apartments, balconies, or urban courtyards.
- Sustainability: Repurpose plastic waste into functional gardening solutions.
- Aesthetic Appeal: Adds a unique and vibrant touch to your home décor.
- Convenience: Accessible and easy-to-maintain gardening option for beginners and experts alike.
Closing Thoughts
Vertical gardening and DIY projects like self-watering pots demonstrate how creativity and sustainability can come together to transform urban living. Whether you’re cultivating fresh herbs for your kitchen or beautifying your outdoor space, these techniques offer endless possibilities.
So, grab those soda bottles, clear some wall space, and let your green thumb take the lead. With a little effort, you can enjoy the beauty and bounty of your own vertical garden!