Clematis, often called the “queen of climbers,” are renowned for their dazzling blooms and versatility. They can turn plain fences, walls, or trellises into stunning vertical gardens. Growing clematis on a trellis is not only rewarding but can transform your outdoor space into a botanical masterpiece. This step-by-step guide will help you choose, plant, and maintain clematis for optimal health and an abundance of flowers.
Step 1: Choose the Right Clematis
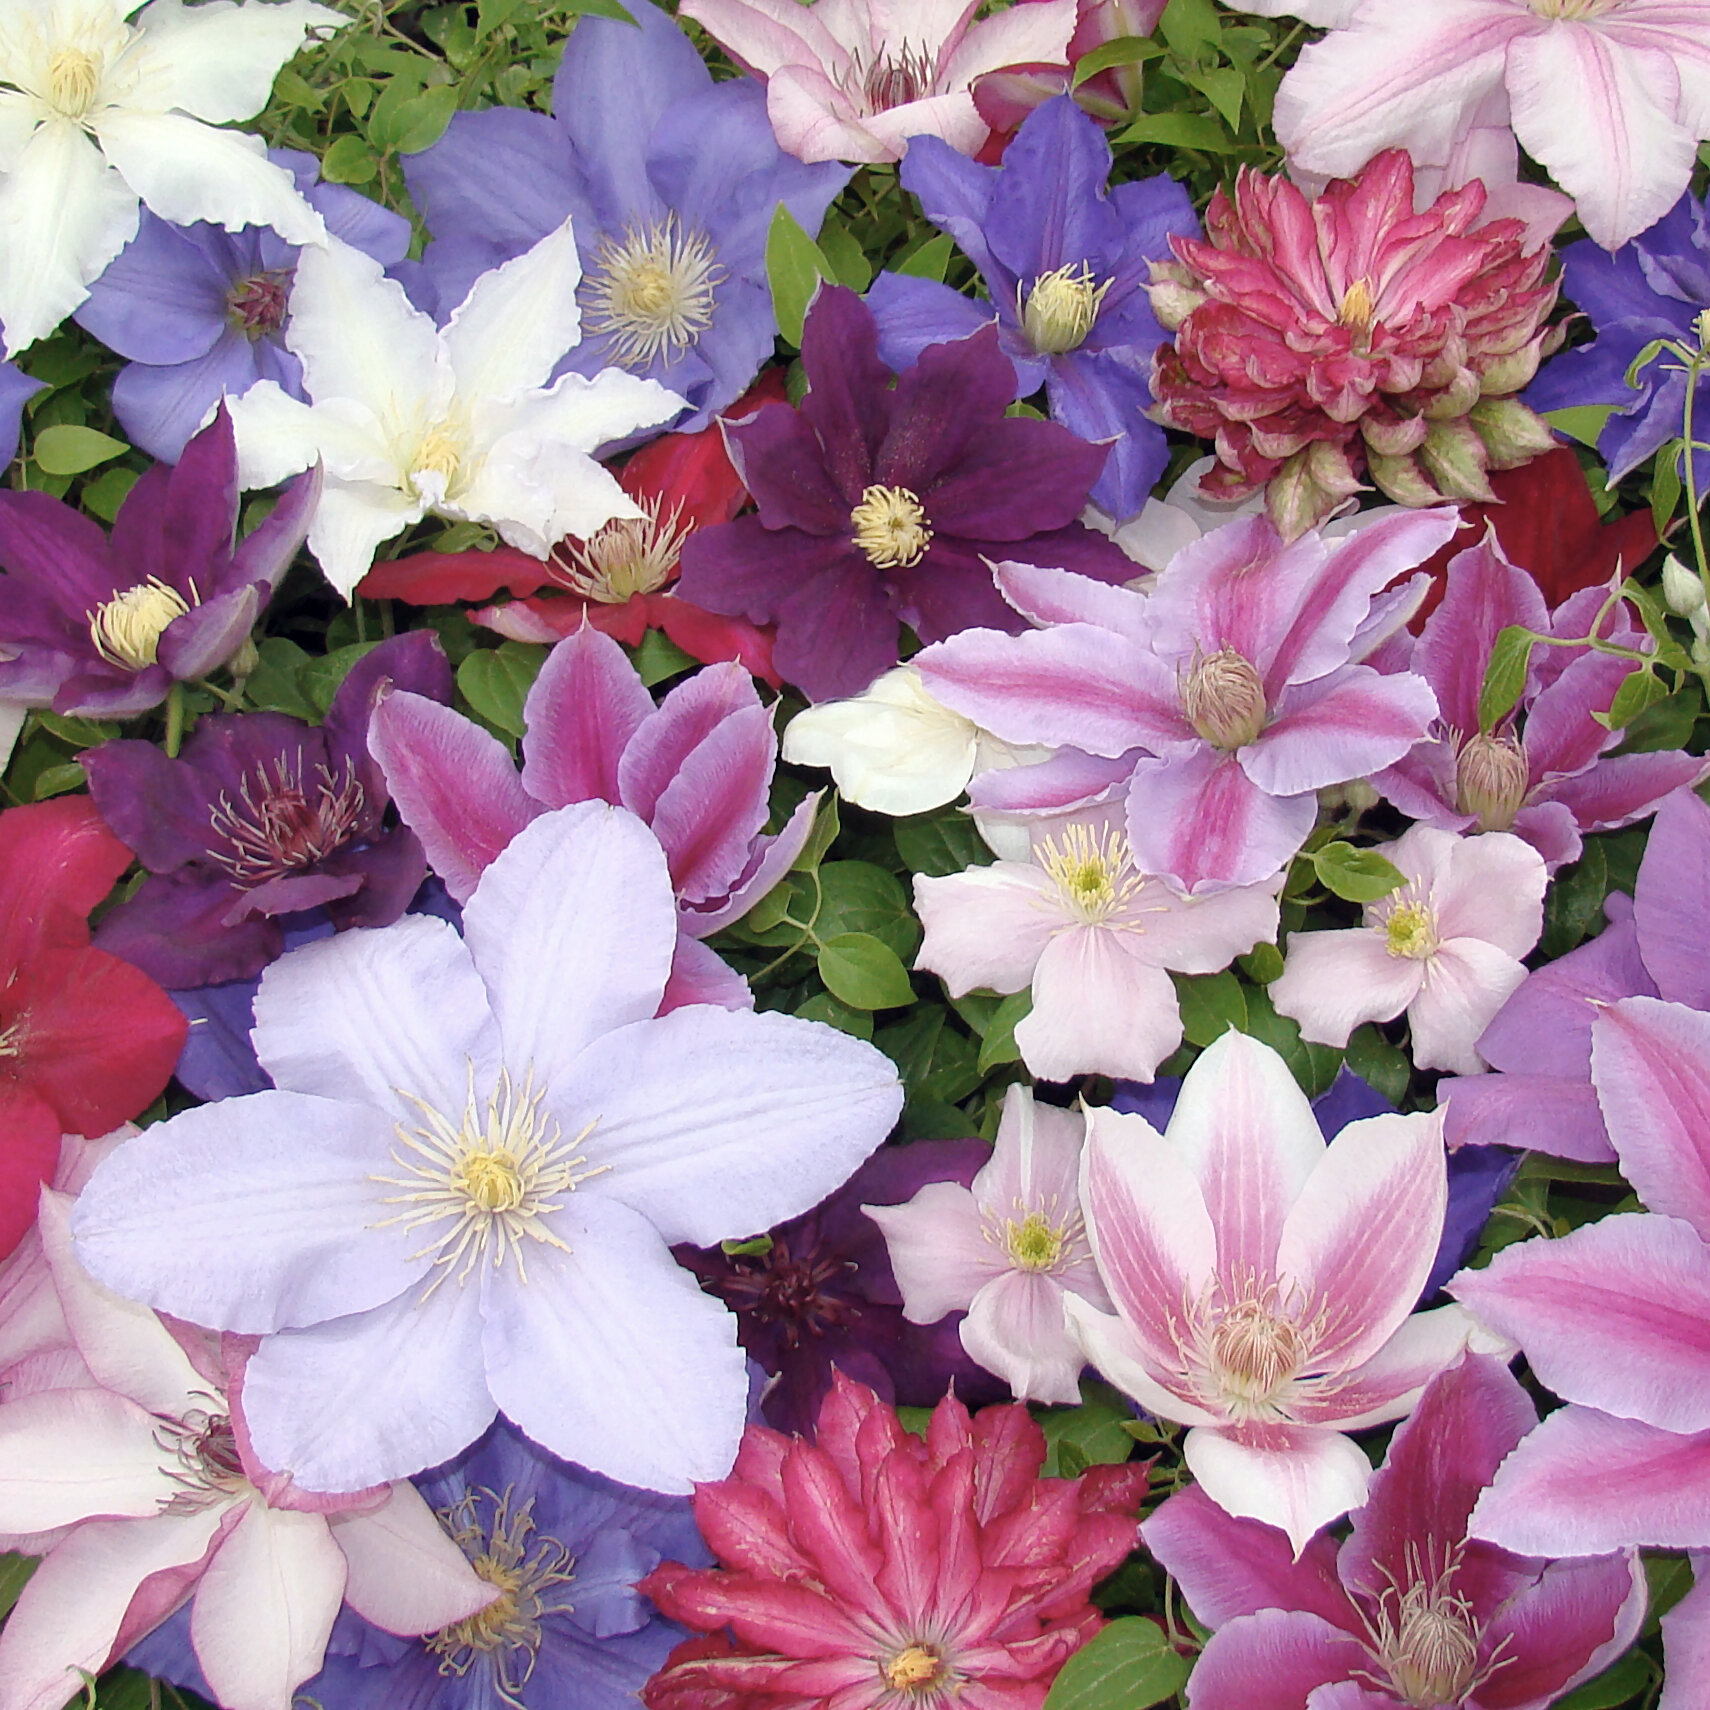
The first step in growing clematis is selecting the right variety for your garden. Clematis plants are incredibly diverse, with blooms ranging from delicate whites to bold purples and even bicolored patterns. Consider the following when making your choice:
- Flowering Time:
- Early-flowering varieties like Clematis montana bloom in spring.
- Summer bloomers like Clematis Jackmanii put on a show from late spring to early summer.
- Late-flowering types, such as Clematis paniculata, flower in late summer to fall.
- Climate Compatibility:
- Ensure your chosen clematis thrives in your USDA hardiness zone.
- Some clematis varieties tolerate heat better, while others prefer cooler climates.
- Mature Size:
- Compact varieties grow 6–10 feet, ideal for smaller trellises or containers.
- Vigorous types can climb up to 20 feet, making them perfect for large walls or pergolas.
Step 2: Select the Perfect Location
The location plays a crucial role in the success of your clematis:
- Sunlight:
- Most clematis varieties thrive in full sun, requiring at least six hours of direct sunlight daily.
- Some varieties tolerate partial shade; research your plant’s specific needs.
- Shelter from Wind:
- Strong winds can damage delicate vines and flowers. Choose a spot with some wind protection.
- Soil Quality:
- Clematis prefers well-draining soil rich in organic matter.
- A slightly alkaline to neutral pH (6.5–7.0) works best. Add lime if your soil is too acidic.
Step 3: Install a Suitable Trellis
A sturdy, well-designed trellis is vital for supporting your clematis as it grows:
- Strength:
- Fully grown clematis vines can be heavy, so ensure the trellis is durable and securely anchored.
- Design Options:
- Freestanding trellises work well as garden focal points.
- Wall-mounted or fence-attached trellises are ideal for creating floral backdrops.
- Pre-Installation:
- Install the trellis before planting to avoid disturbing the plant’s roots later on.
Step 4: Planting Your Clematis
Proper planting ensures strong root establishment and future growth:
- Digging the Hole:
- Dig a hole twice as wide and just as deep as the pot your clematis came in.
- Plant Depth:
- Place the plant in the hole with the crown (where stems meet roots) buried 2–3 inches below the soil surface. This encourages new shoots to grow from the base.
- Backfill and Water:
- Fill the hole with a mix of garden soil and compost. Press gently to remove air pockets.
- Water thoroughly to help the soil settle around the roots.
Step 5: Train and Prune Your Clematis
Training and pruning are essential for guiding the vine and encouraging prolific blooms:
- Training the Vines:
- Use soft plant ties to gently secure the stems to the trellis. Avoid tying too tightly.
- As the plant grows, guide the new shoots toward the support structure to promote even coverage.
- Pruning Guidelines:
- Prune clematis according to its blooming cycle:
- Group 1: Early bloomers—prune lightly after flowering in late spring.
- Group 2: Mid-season bloomers—prune lightly in early spring and deadhead spent flowers.
- Group 3: Late bloomers—cut back to 12 inches above ground level in late winter or early spring.
- Prune clematis according to its blooming cycle:
- Regular Adjustments:
- Check ties periodically and adjust them to accommodate growth without restricting the stems.
Step 6: Care and Maintenance
Consistent care will keep your clematis healthy and blooming abundantly:
- Watering:
- Keep the soil consistently moist but avoid overwatering, which can cause root rot.
- Water deeply during dry spells, especially in the growing season.
- Fertilizing:
- Apply a balanced fertilizer in early spring to encourage strong growth.
- Feed again midseason, especially for heavy-blooming varieties.
- Mulching:
- Mulch around the base to retain moisture and keep roots cool, which clematis prefers.
- Organic mulches like bark or straw work well.
- Pest and Disease Control:
- Watch for common pests like aphids and slugs. Treat with neem oil or insecticidal soap if necessary.
- Prevent diseases like clematis wilt by ensuring good airflow and avoiding overhead watering.
Conclusion: Transform Your Garden with Clematis
Growing clematis on a trellis adds vertical drama, vibrant blooms, and timeless elegance to any garden. With careful selection, planting, and care, even beginners can enjoy the breathtaking beauty of these climbing plants. Whether you’re creating a floral backdrop, framing a doorway, or simply adding color to a fence, clematis is a garden showstopper worth the effort. Follow this guide, and you’ll soon enjoy a trellis bursting with flowers that captivate the eyes and inspire the heart.