Growing an apple tree from seeds is an exciting and fulfilling project that lets you witness the miraculous transformation of a tiny seed into a beautiful, fruit-bearing tree. While most commercial apple trees are grown from grafted rootstocks to ensure consistency in fruit quality and yield, cultivating one from seed offers a more personal and rewarding experience. This comprehensive guide will walk you through every step, from selecting the perfect apple to enjoying the fruits of your labor years later.
Keep in mind that trees grown from seeds may not replicate the fruit characteristics of their parent variety, but they will still produce apples with their own unique flavors and qualities. Beyond the fruit, you’ll gain an understanding of nature’s intricate processes and a deep connection to your garden.
Step 1: Collecting and Preparing Seeds
Choosing the Right Apple
To begin, choose a variety of apple that appeals to you and matches your local growing conditions. For example, Honeycrisp apples are known for their crisp texture and sweetness, while Granny Smith apples offer a tart flavor ideal for baking. Research which apple varieties thrive in your USDA hardiness zone to increase your chances of success.
Extracting Seeds
- Select a ripe, unblemished apple. Slice it carefully and remove the seeds from the core.
- Rinse the seeds under cool running water to remove any traces of pulp or sugary residue. These remnants can lead to mold growth, which will hinder germination.
Drying the Seeds
After rinsing, spread the seeds out on a clean paper towel or cloth. Allow them to air dry for 2–3 days. Proper drying helps prevent rot during cold storage.
Step 2: Cold Stratification
In the wild, apple seeds lie dormant during the winter before germinating in spring. To replicate these conditions, a process called cold stratification is essential.
Creating the Right Environment
- Take the dried seeds and wrap them in a damp paper towel. Ensure the towel is moist but not soaked.
- Place the wrapped seeds in a resealable plastic bag or an airtight container.
Refrigeration
Store the seeds in your refrigerator, ensuring the temperature remains between 32°F and 41°F (0°C and 5°C). Leave them for 6–8 weeks, checking periodically to ensure the towel stays moist and the seeds remain mold-free.
This process helps break the seed’s natural dormancy, encouraging germination once conditions are favorable.
Step 3: Germinating the Seeds
After cold stratification, the seeds are ready to be planted and encouraged to sprout.
Preparing the Soil
Choose a well-draining, nutrient-rich potting mix. A mix containing peat moss, compost, and perlite works well for starting seeds.
Planting the Seeds
- Fill small pots or seedling trays with the prepared potting mix.
- Plant each seed about ½ inch deep, covering it lightly with soil.
- Water the soil gently to ensure moisture reaches the seeds without disturbing their position.
Creating a Greenhouse Effect
Cover the pots with plastic wrap or a clear lid to create a warm, humid environment that mimics greenhouse conditions.
Ideal Conditions for Germination
- Light: Place the pots in a location with bright, indirect sunlight.
- Temperature: Maintain a consistent temperature between 65°F and 75°F (18°C and 24°C).
- Watering: Keep the soil moist but not waterlogged. Overwatering can lead to rot.
Monitoring Progress
Germination may take anywhere from 2–4 weeks. When tiny green shoots appear, remove the plastic covering to allow air circulation and prevent mold growth.
Step 4: Caring for Seedlings
Your apple seedlings are delicate and require attentive care to grow strong and healthy.
Providing Adequate Light
- Seedlings need 6–8 hours of light daily. If natural sunlight is insufficient, use grow lights positioned 6–12 inches above the plants.
- Rotate the pots occasionally to ensure even growth.
Watering and Soil Maintenance
- Water consistently, keeping the soil evenly moist. Avoid letting the soil dry out or become waterlogged.
- Check the pots for proper drainage to prevent root rot.
Thinning the Seedlings
If multiple seeds were planted in the same pot, thin them out once they’ve developed a few sets of true leaves. This allows the strongest seedling to thrive without competition.
Transplanting to Larger Pots
When the seedlings reach 4–6 inches tall and have sturdy stems, transfer them into larger pots to provide more room for root development.
Step 5: Transplanting Outdoors
After months of indoor care, your apple tree is ready to transition to its permanent home in the garden.
Timing the Transplant
Wait until the last frost date in your region has passed. Apple trees are sensitive to frost, especially in their early stages.
Selecting a Location
- Choose a sunny spot with at least 6–8 hours of direct sunlight daily.
- Ensure the soil is well-draining and rich in organic matter. Test the pH; apple trees prefer slightly acidic to neutral soil (pH 6.0–7.0).
Planting Process
- Dig a hole twice as wide and just as deep as the seedling’s root ball.
- Remove the seedling from its pot carefully to avoid damaging the roots.
- Place the seedling in the hole at the same depth it was growing in the pot. Fill the hole with soil, tamping gently to eliminate air pockets.
- Water thoroughly to help the soil settle around the roots.
Mulching
Apply a 2–3 inch layer of mulch around the tree’s base, keeping it a few inches away from the trunk to prevent rot. Mulch helps retain moisture, regulate soil temperature, and suppress weeds.
Step 6: Long-Term Care and Maintenance
Watering Requirements
During the first year, provide consistent moisture to help the roots establish. Aim for about 1–2 inches of water per week, adjusting during dry spells.
Fertilizing
Feed the tree with a balanced fertilizer in early spring and midsummer. Avoid over-fertilizing, as excessive nutrients can lead to weak, spindly growth.
Pruning
Prune annually in late winter or early spring to remove dead or diseased branches, shape the tree, and improve air circulation. Proper pruning encourages better fruit production in the long term.
Pest and Disease Management
- Watch for pests like aphids, apple maggots, and codling moths. Use organic sprays, neem oil, or introduce beneficial insects to manage infestations.
- Prevent fungal diseases such as apple scab by ensuring proper spacing and pruning for airflow.
Step 7: Harvesting the Fruits of Your Labor
Patience is Key
Apple trees grown from seeds typically take 6–10 years to produce fruit. While the waiting period is long, the journey of nurturing your tree is incredibly rewarding.
Assessing Ripeness
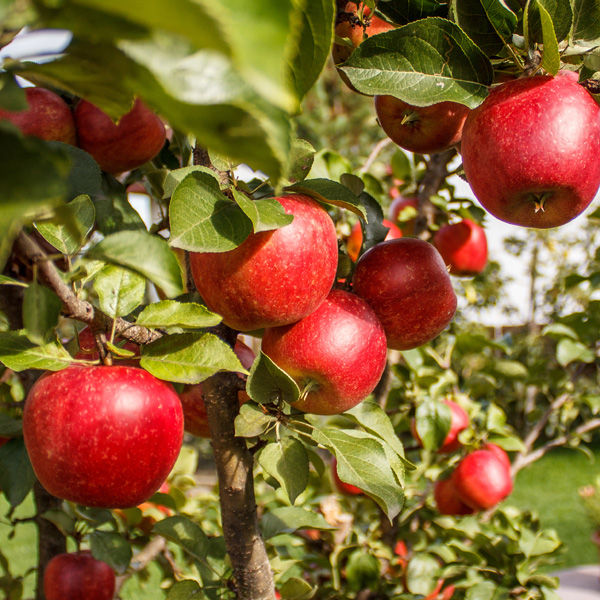
When your tree begins to bear fruit, ensure apples are ripe before harvesting. Ripe apples are firm, fully colored, and detach easily from the branch.
Storing Your Harvest
Store apples in a cool, dark place to extend their shelf life. Properly stored apples can last several months, allowing you to enjoy the fruits of your labor long after the harvest season.
Conclusion
Growing an apple tree from seeds is more than just a gardening project—it’s a journey of patience, learning, and connection with nature. From carefully selecting and preparing seeds to nurturing a tree into a productive addition to your garden, every step offers a sense of accomplishment. While it may take years for your tree to bear fruit, the satisfaction of enjoying apples you’ve grown yourself is unmatched. Embrace the process, savor the growth, and take pride in creating something beautiful and lasting in your garden.