Roses symbolize beauty, romance, and elegance, and growing them from a rose calyx offers a unique way to propagate these iconic flowers. This method allows you to nurture rose cuttings into healthy, blooming rose bushes. Follow this detailed guide to learn how to master the art of growing roses from the rose calyx.
Understanding the Rose Calyx
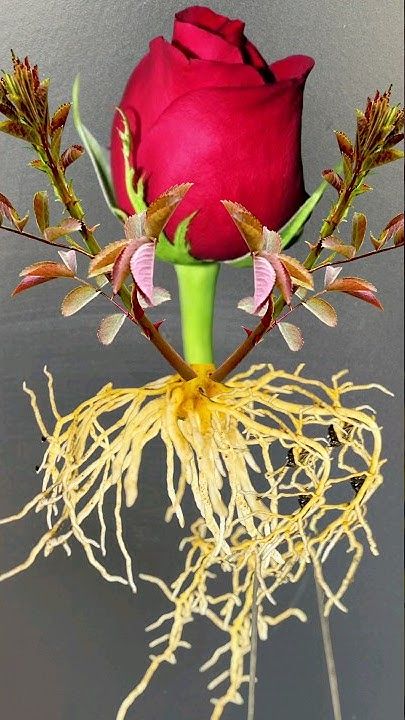
The rose calyx is the green, leaf-like structure at the base of the flower, beneath the petals. Inside the calyx are dormant buds that, with proper care, can sprout and grow into new rose plants. These buds hold the potential to develop into full, flourishing rose bushes when given the right conditions.
Materials You’ll Need
- Healthy Rose Bush: Start with a disease-free rose plant for the best results.
- Pruning Shears: Use sharp, sterilized shears for clean, precise cuts.
- Rooting Hormone: Helps stimulate root development in the cuttings.
- Potting Mix: A well-draining mix is essential to prevent root rot and promote healthy growth.
- Pots or Containers: Small containers are ideal for initial planting.
- Plastic Bags or Wrap: These create a humid environment to encourage rooting.
- Labels: Use to track rose varieties and planting dates.
Step-by-Step Guide
Step 1: Select the Calyx
- Choose a healthy rose bush, preferably during its dormant season (late winter or early spring).
- Look for a mature calyx with at least two visible buds, measuring about 3-5 inches in length.
Step 2: Take the Cutting
- Use your sharp pruning shears to cut the calyx at a 45-degree angle, just above a bud.
- Remove any leaves and thorns from the cutting to focus energy on root development.
Step 3: Apply Rooting Hormone
- Dip the cut end of the calyx into rooting hormone to promote faster and stronger root growth.
Step 4: Prepare the Pot and Plant
- Fill small pots with a well-draining potting mix.
- Insert the calyx into the soil about an inch deep, ensuring the buds face upward.
Step 5: Water and Cover
- Water the cutting thoroughly to help settle the soil around the cutting.
- Cover the pot with a clear plastic bag or wrap to maintain the humidity, which is crucial for successful rooting.
Step 6: Maintain Ideal Conditions
- Place the pots in a warm, bright location with indirect sunlight.
- Keep the soil consistently moist, but avoid overwatering, as this can lead to rot.
Step 7: Be Patient and Monitor Growth
- Root development may take anywhere from a few weeks to several months.
- Keep an eye out for signs of new growth, such as small leaves or shoots, which indicate that the roots are developing. Adjust humidity levels as necessary.
Step 8: Transplanting
- Once your cuttings have established strong roots and sprouted new leaves, they are ready to be transplanted into individual pots or your garden.
Tips for Success
- Choose the Right Varieties: Some rose varieties are easier to root than others, so research which ones are best suited for this method.
- Sterilize Tools: Always sterilize your pruning shears before and after use to prevent the spread of disease.
- Protect Cuttings: Keep the cuttings safe from extreme temperatures and pests while they root. Consider using a small greenhouse or cloche if necessary.
Growing roses from a rose calyx is a rewarding and fulfilling gardening project. With patience and care, you can propagate your favorite rose varieties and expand your garden with beautiful, vibrant blooms. Each rose variety may require specific care, so take the time to learn about the needs of your plants. Soon, you’ll be enjoying a lush garden full of stunning roses. Happy gardening!