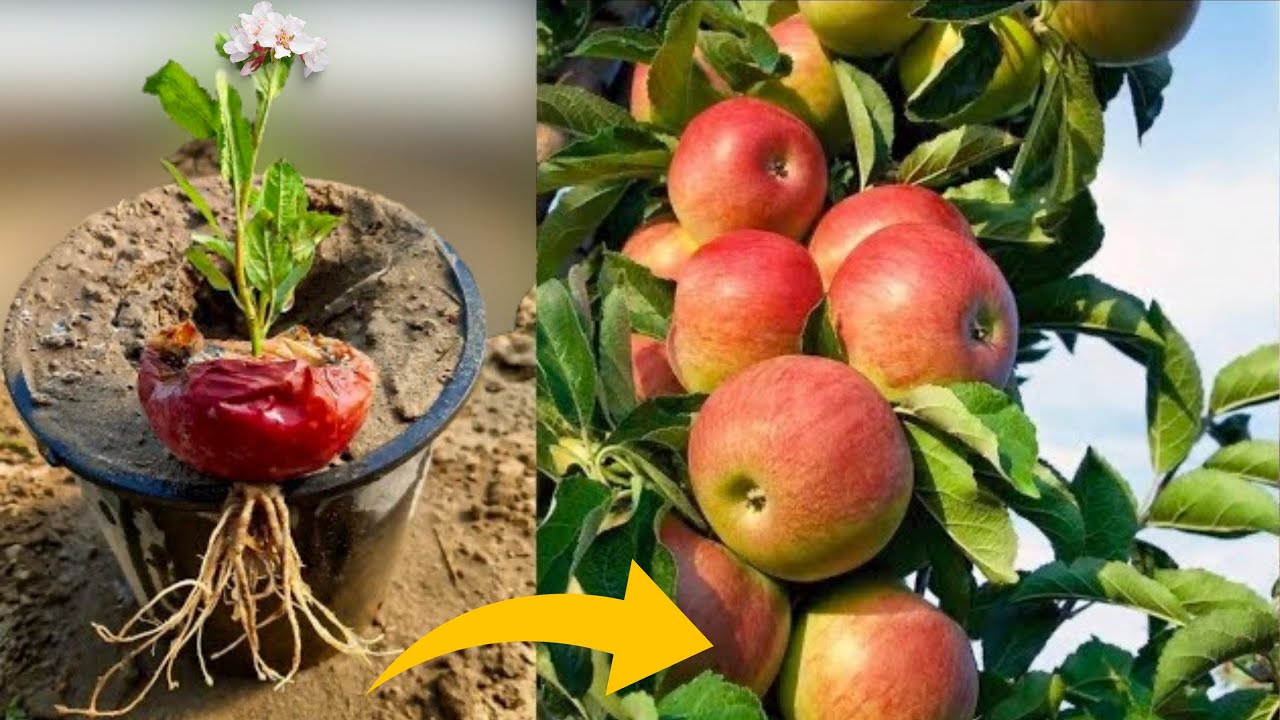
Growing an apple tree from seeds is a journey filled with discovery, patience, and immense satisfaction. Unlike grafted apple trees—used commercially to replicate specific traits—trees grown from seeds introduce an element of surprise, producing apples with unique flavors and characteristics. Whether you’re an experienced gardener or just starting your green thumb journey, this guide will walk you through every step, ensuring that your apple tree thrives and rewards you with years of beauty and fruit.
Although it may take several years for a seed-grown apple tree to produce fruit, the process itself is a deeply rewarding endeavor that allows you to witness nature’s incredible growth cycle. From understanding seed preparation to the careful care of a mature tree, you’ll find all the details you need below to nurture your very own apple tree.
Why Grow an Apple Tree From Seed?
Before diving into the process, let’s explore why growing an apple tree from seed is worth considering:
- Educational Experience: Growing a tree from seed teaches valuable lessons about plant life cycles, patience, and sustainability.
- Cost-Effective: Seeds from a single apple can yield multiple trees at no extra cost.
- Diversity: Unlike cloned trees from grafted rootstocks, seed-grown apple trees have genetic variation, which may result in unique and flavorful apples.
- Environmental Impact: Growing your apple tree reduces the carbon footprint associated with commercial fruit production.
While the fruit might differ from the parent apple, each tree tells its own story, adding an element of mystery and anticipation to the process.
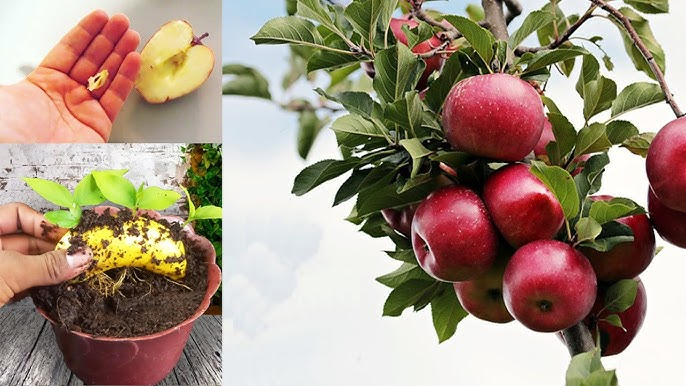
Step 1: Selecting and Preparing Apple Seeds
The first step in growing an apple tree is to collect seeds and prepare them for planting.
Choosing the Right Apple
Begin by selecting apples that you enjoy eating. Consider the flavor, texture, and purpose of the fruit—whether for snacking, baking, or cider-making. Popular apple varieties such as Fuji, Honeycrisp, and Granny Smith are excellent starting points. If possible, choose organic apples to avoid seeds exposed to chemicals that might affect germination.
Extracting the Seeds
- Cut open the apple carefully, avoiding damage to the seeds.
- Remove all seeds from the core, ensuring they are firm, plump, and free of blemishes or cracks.
- Rinse the seeds thoroughly under cool running water to remove any pulp or sugar that could encourage mold growth.
Drying the Seeds
Lay the seeds on a paper towel or clean cloth and allow them to air dry for 2–3 days in a cool, well-ventilated space. This step prevents rot and ensures they are ready for storage or stratification.
Step 2: Cold Stratification
Apple seeds require a period of cold dormancy to trigger germination. This process, known as cold stratification, mimics winter conditions that naturally prepare seeds for spring growth.
Creating the Ideal Conditions
- Dampen a paper towel, ensuring it is moist but not soaking wet.
- Wrap the seeds in the damp towel and place them in a resealable plastic bag or an airtight container.
Refrigeration
Store the seeds in the refrigerator (not freezer) for 6–8 weeks. The ideal temperature is between 32°F and 41°F (0°C and 5°C). Check the seeds every two weeks to ensure the towel remains moist. Replace it if it dries out or shows signs of mold.
Observing Progress
Toward the end of the stratification period, you may notice small roots or sprouts emerging from the seeds. This indicates that they are ready for planting.
Step 3: Germinating Apple Seeds
Once the stratification process is complete, the seeds can be transferred to soil for germination.
Selecting the Right Soil
Choose a well-draining, nutrient-rich potting mix. A blend of peat moss, compost, and perlite or vermiculite works well. Avoid garden soil, as it may compact and impede seedling growth.
Planting the Seeds
- Fill small pots or seedling trays with the prepared potting mix.
- Plant each seed about ½ inch deep and cover lightly with soil.
- Water the soil gently to ensure moisture reaches the seeds.
Creating a Greenhouse Effect
To maintain a warm and humid environment, cover the pots with plastic wrap or place them in a propagation tray with a clear lid.
Optimal Growing Conditions
- Light: Place the pots in a bright location with indirect sunlight, such as a windowsill. Alternatively, use grow lights to provide 12–16 hours of light daily.
- Temperature: Keep the environment between 65°F and 75°F (18°C and 24°C).
- Watering: Water sparingly but consistently, ensuring the soil remains moist but not soggy.
Monitoring Germination
Germination can take 2–4 weeks. Once the seedlings emerge, remove the plastic covering to improve air circulation and prevent mold.
Step 4: Caring for Apple Seedlings
As your seedlings grow, they require careful attention to thrive.
Lighting
Seedlings need ample light for healthy growth. If natural light is insufficient, position grow lights 6–12 inches above the plants and adjust as they grow.
Watering
Water the seedlings regularly, ensuring the soil remains consistently moist. However, avoid overwatering, as this can lead to root rot or fungal issues.
Thinning Seedlings
If multiple seeds were planted in the same container, thin them out once they develop their second set of true leaves. Retain the strongest seedlings for transplantation.
Transplanting to Larger Pots
When the seedlings reach 4–6 inches tall, transfer them into larger pots with fresh potting mix. This gives their roots room to grow and prevents overcrowding.
Step 5: Transplanting Seedlings Outdoors
Once your seedlings have grown strong and the risk of frost has passed, they are ready for outdoor planting.
Choosing the Perfect Location
Select a site that receives full sun for at least 6–8 hours daily. The soil should be well-draining, rich in organic matter, and slightly acidic to neutral (pH 6.0–7.0).
Preparing the Soil
Amend the soil with compost or aged manure to improve fertility. Perform a soil test to ensure optimal pH levels and adjust as needed using lime or sulfur.
Planting the Seedling
- Dig a hole twice as wide and deep as the root ball.
- Place the seedling in the hole, ensuring the base of the trunk is level with the ground.
- Backfill with soil, gently pressing it down to eliminate air pockets.
- Water thoroughly to help the roots settle.
Step 6: Caring for Your Apple Tree
Long-term care is essential to ensure your apple tree grows strong and healthy.
Watering
Provide 1–2 inches of water per week, increasing during dry spells. Consistent moisture is particularly crucial during the first year as the tree establishes its roots.
Mulching
Apply a 2–3 inch layer of organic mulch around the base of the tree. This helps retain moisture, regulate soil temperature, and suppress weeds. Keep mulch a few inches away from the trunk to prevent rot.
Fertilizing
Feed your apple tree in early spring with a balanced, slow-release fertilizer. Repeat midseason if necessary, but avoid over-fertilizing, which can lead to excessive foliage growth at the expense of fruit.
Pruning
Prune annually during late winter or early spring to remove dead or diseased branches, shape the tree, and improve air circulation. Proper pruning encourages better light penetration and fruit production.
Pest and Disease Management
Monitor for common pests like aphids, codling moths, and apple maggots. Employ organic solutions like neem oil or introduce beneficial insects to combat infestations.
Step 7: Patience and Harvest
Growing an apple tree from seeds requires patience, as it can take 6–10 years for the tree to produce fruit. While the waiting period may seem long, the process of nurturing your tree is immensely rewarding.
Harvesting Apples
When the tree begins bearing fruit, ensure the apples are fully ripe before picking. Ripe apples are firm, brightly colored, and detach easily from the branch.
Storing Apples
Store your harvest in a cool, dark place to extend its shelf life. Properly stored apples can last for months, allowing you to enjoy your homegrown produce well into winter.
Conclusion
Growing an apple tree from seeds is more than a gardening project—it’s a labor of love that connects you to nature’s rhythms. From the excitement of germinating seeds to the joy of harvesting your first apples, each stage offers its own rewards. With patience and care, your tree will grow into a magnificent presence in your garden, providing shade, beauty, and delicious fruit for generations to come.