Creating a rain barrel is a practical, eco-friendly project that lets you collect and store rainwater for gardening, cleaning, and other non-potable uses. Not only does this conserve water and reduce utility bills, but it also helps manage stormwater runoff. Here’s a detailed guide to building your own rain barrel.
Materials Needed
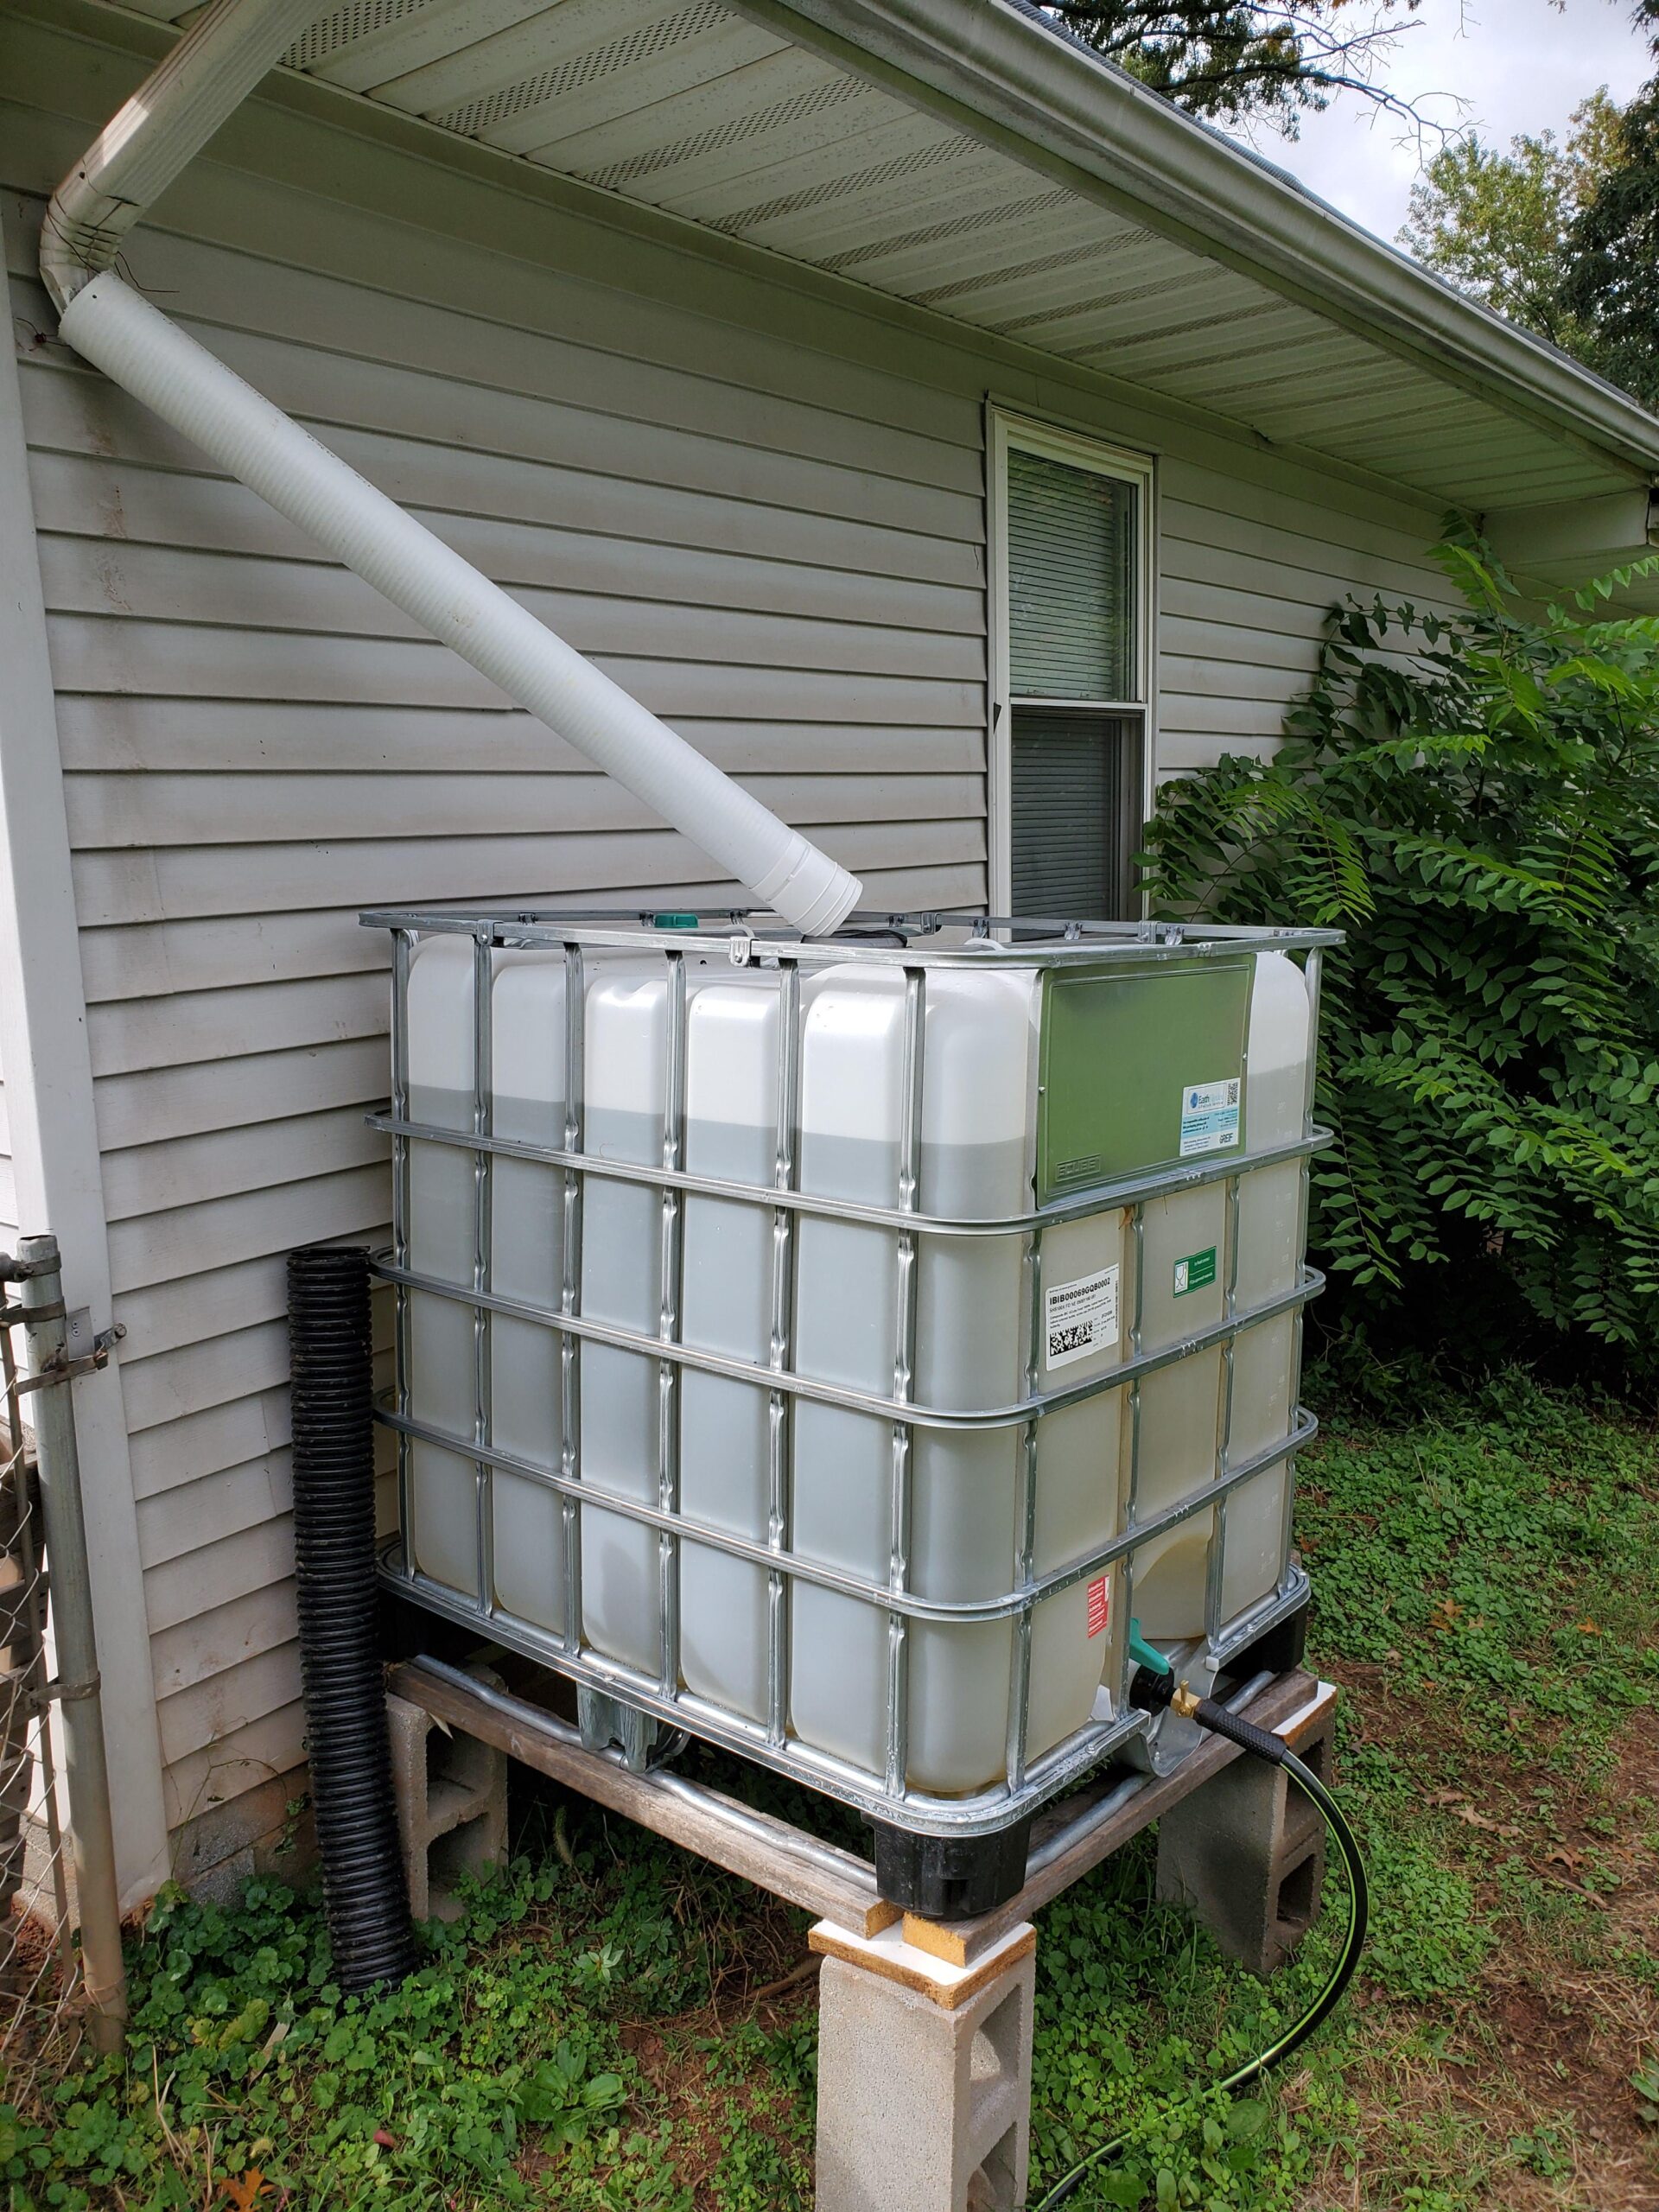
- Large Barrel or Drum: A 55-gallon food-grade plastic drum is ideal.
- Spigot: For easy water access.
- Overflow Valve: To handle excess water.
- Mesh Screen: Keeps debris and insects out of the water.
- Downspout Diverter or Flexible Downspout: Directs water from your gutter to the barrel.
- Hose Clamp: Secures the overflow valve and downspout.
- Silicone Sealant: Waterproofs the spigot and overflow valve connections.
- Drill and Bits: To create holes in the barrel.
- Teflon Tape: Ensures a watertight seal on threaded connections.
- Cinder Blocks or Sturdy Stand: Elevates the barrel for better water pressure and easy access to the spigot.
Step-by-Step Instructions
1. Prepare the Barrel
- Select a Suitable Barrel: Use a food-grade barrel that hasn’t been used to store chemicals. Clean it thoroughly with soap and water.
- Inspect for Cracks or Damage: Ensure the barrel is in good condition to prevent leaks.
2. Create the Spigot Hole
- Drill the Hole: About 2–3 inches from the bottom of the barrel, drill a hole sized to fit your spigot. This placement ensures water access while leaving sediment undisturbed at the base.
- Seal and Install the Spigot:
- Wrap Teflon tape around the spigot threads.
- Apply silicone sealant around the drilled hole.
- Insert and tighten the spigot into the hole, ensuring a watertight fit.
3. Install the Overflow Valve
- Drill the Overflow Hole: Near the top of the barrel, drill a hole to fit the overflow valve. This prevents water from spilling over the sides during heavy rainfall.
- Attach the Valve:
- Apply silicone sealant around the overflow hole.
- Insert the valve and secure it using a hose clamp.
- Connect a hose to the valve if you want to direct overflow water away from the foundation of your home.
4. Attach the Mesh Screen
- Cut the Screen: Measure and cut the mesh screen to cover the barrel’s top opening.
- Secure the Screen: Attach the screen tightly using screws, clamps, or a strong elastic band. This prevents debris and insects, like mosquitoes, from contaminating the water.
5. Set Up the Downspout
- Position the Barrel: Place your barrel on a stable, elevated base made of cinder blocks or a sturdy stand. Elevation helps increase water flow pressure and allows easy access to the spigot.
- Modify the Downspout:
- Cut the gutter downspout to align with the barrel’s top.
- Attach a diverter or a flexible downspout to direct rainwater into the barrel.
6. Secure and Maintain Your Rain Barrel
- Check for Leaks: Inspect your rain barrel during its first use and after heavy rains to ensure there are no leaks around the spigot, overflow valve, or other connections.
- Regular Maintenance:
- Empty and clean the barrel every few months to remove algae, sediment, and other debris.
- Check the mesh screen regularly for tears or blockages.
- Seasonal Care: In winter, drain and disconnect the rain barrel if you live in a freezing climate to prevent damage from ice expansion.
Tips for Effective Use
- Multiple Barrels: Consider connecting multiple barrels with a linking kit to collect more water.
- Use Water Responsibly: Use stored rainwater for plants, cleaning tools, or other non-potable purposes. Avoid drinking or cooking with it unless properly treated.
- Add a Hose Adapter: For easier use, attach a garden hose to the spigot.
Benefits of a Rain Barrel
- Water Conservation: Reduces reliance on municipal water supplies.
- Cost Savings: Lowers water bills, especially during peak gardening seasons.
- Eco-Friendly: Minimizes stormwater runoff, helping to prevent soil erosion and waterway pollution.
By following this guide, you can build a reliable rainwater harvesting system that promotes sustainable living and helps maintain a lush, healthy garden. Happy building!