How to Build a Tomato Trellis: Step-by-Step Guide
If you’re growing tomatoes in your garden, you know how important it is to give them the support they need to thrive. Tomatoes naturally want to sprawl, and if left unsupported, they can become a tangled mess on the ground, prone to disease, pests, and fruit rot. This is where a tomato trellis comes into play. A trellis helps to train your tomato plants to grow upward, creating a healthier environment for them to grow and produce abundant fruit. It allows for better airflow, easier harvesting, and maximizes your garden space. A properly designed trellis also provides support as tomato plants grow heavier with fruit, preventing breakage or bending.
Whether you have a small backyard garden, raised beds, or even container gardening, this step-by-step guide will teach you how to build a simple yet effective tomato trellis that will provide your plants with the necessary support throughout the growing season.
Why You Should Use a Tomato Trellis
Using a tomato trellis is not just about aesthetics or organizing your plants—it has a significant impact on the health and productivity of your tomato crop. Here are the main benefits:
- Saves Space: By training your tomatoes to grow vertically, you can use less ground space, which is particularly helpful if you have a small garden. Vertical gardening lets you fit more plants in the same area.
- Better Airflow & Sunlight: A trellis raises the plants off the ground, providing better air circulation, which reduces the risk of diseases like blight and powdery mildew. It also ensures that the plants get more direct sunlight, which is essential for strong, healthy growth.
- Prevents Soil-Borne Diseases: Tomatoes that sprawl on the ground are more prone to contact with soil-borne pathogens. By keeping the plants elevated, you reduce the chances of fruit rot and the spread of diseases like fusarium wilt or verticillium wilt.
- Easier Harvesting & Maintenance: Harvesting becomes much easier when your tomatoes are off the ground. It also makes tasks like pruning, watering, and inspecting the plants much more manageable.
- Stronger Plant Structure: A trellis provides support to the plant, preventing branches from breaking under the weight of tomatoes. This helps prevent damage and ensures a better harvest.
Materials You’ll Need
To build a solid and reliable tomato trellis, here’s a list of materials you’ll need to gather:
- Wooden Stakes or Metal Posts (6 to 8 feet long, depending on the height you want your trellis to be)
- Twine (garden twine, nylon string, or heavy-duty yarn) or Galvanized Wire
- Hammer or Post Driver (for driving the posts into the ground)
- Gardening Gloves (to protect your hands during setup)
- Scissors or Wire Cutters (if using wire)
- Soft Plant Ties (you can use strips of cloth, Velcro ties, or twist ties)
- A Level (optional but useful for ensuring your posts are straight)
- Shovel (for digging holes)
- Post Concrete (optional, if you’re using wood posts and want extra stability)
Step 1: Choose the Right Location
Start by selecting an ideal spot for your tomato trellis:
- Sunlight: Choose a location in your garden that receives 6 to 8 hours of direct sunlight each day. Tomatoes are sun-loving plants, and they need plenty of light to grow and ripen their fruit.
- Well-Drained Soil: Tomatoes do best in soil that drains well. Avoid low areas in your garden where water may collect. If your soil is heavy or clay-based, consider using raised beds or containers.
- Space: Make sure the spot you select has enough room for your tomato plants. If you plan on growing multiple plants, leave enough space between them (usually 18 to 24 inches apart) for proper airflow and growth.
Step 2: Prepare the Soil
Before constructing your trellis, prepare the garden bed:
- Clear the area: Remove any weeds, rocks, or debris from the planting area. Weeds can compete with your tomatoes for nutrients and water, so it’s essential to start with a clean slate.
- Loosen the soil: Use a garden fork or shovel to loosen the soil. This helps with root penetration and water retention.
- Amend the soil: Mix in organic compost or well-rotted manure to improve the soil’s fertility and structure. Tomatoes thrive in nutrient-rich soil. If the soil pH is too high or low, consider adjusting it (tomatoes prefer a pH range of 6.0 to 7.0).
Step 3: Install the Main Posts
Now it’s time to install the main supports for your trellis:
- Position the posts: Place the wooden stakes or metal posts along the planting row where your tomatoes will grow. For best results, space the posts about 4 to 6 feet apart, depending on how many plants you want to grow.
- Set the posts into the ground: Insert each post 1 to 2 feet into the soil. Use a post driver or a mallet to drive the posts firmly into the ground. This will ensure the posts are strong enough to support the weight of the tomato plants as they grow.
- Check the alignment: Make sure your posts are upright and level. You can use a level to make sure the posts are perfectly vertical, or if you’re using stakes, check that they are equally spaced.
Step 4: Secure the Main Posts
- Firmly secure the posts: Once the posts are in place, give each one a good shake to check for stability. If they feel loose, you may need to add more soil around the base or even use post concrete for extra support. This is particularly important in areas where the trellis might experience high winds or heavy rain.
- Stabilize the posts: Use a mallet to firmly tap around the base of each post to ensure that they are stable and anchored into the soil. The posts should be able to withstand the weight of the plants as they mature.
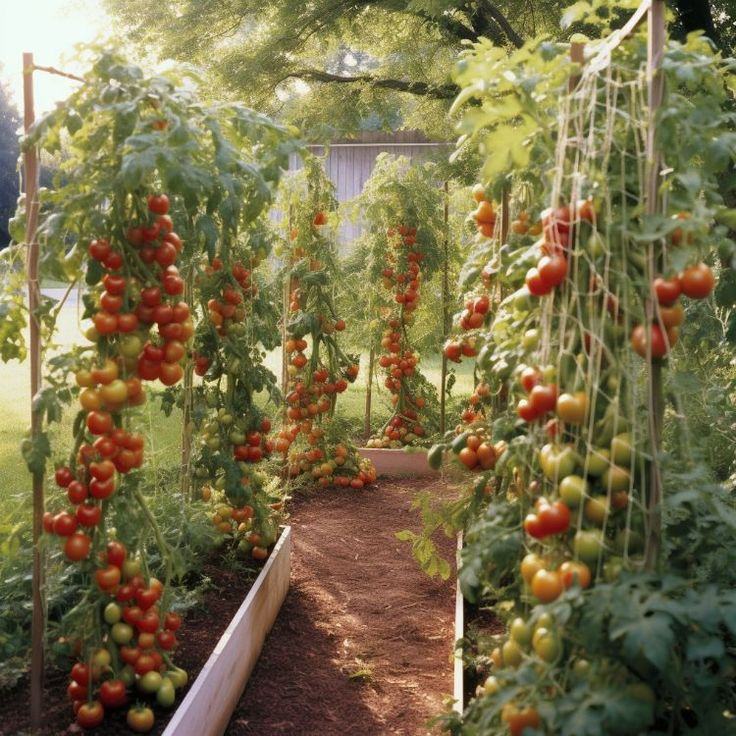
Step 5: Attach Horizontal Support Lines
The horizontal support lines will allow the tomatoes to climb as they grow:
- Tie the first line: Start by tying a piece of twine or wire at the top of the first post. Stretch it tightly across to the other post, securing it with a knot or by wrapping it around the post.
- Space the lines: Repeat this process for the remaining lines, spacing them about 12 to 18 inches apart, depending on the size of your tomato plants. Taller plants or indeterminate varieties (which keep growing throughout the season) will need more space between the lines.
- Secure the lines: Ensure each horizontal line is taut by tightening the twine or wire. You can tie it around the posts or use screws or fasteners to keep the lines in place. If using wire, make sure it’s galvanized to prevent rust.
Step 6: Plant Your Tomato Seedlings
Once your trellis is set up, it’s time to plant your tomatoes:
- Dig planting holes: Dig holes for each tomato plant along the row, keeping them 18 to 24 inches apart. This allows each plant enough room to grow without crowding.
- Plant deeply: Tomatoes can root along their stems. Bury the lower part of the stem in the soil when planting, which helps create a stronger root system. Make sure the soil is well-packed around the roots.
- Water immediately: After planting, water the plants thoroughly to help them settle into the soil. Keep the soil consistently moist, but avoid overwatering, as tomatoes don’t like soggy conditions.
Step 7: Tie the Tomato Plants to the Trellis
As your tomato plants start growing, begin training them to climb the trellis:
- Attach the main stem: Use soft plant ties (cloth strips, Velcro, or twist ties) to gently secure the main stem to the trellis. Make sure the ties are not too tight; the plant should still be able to grow and expand.
- Encourage upward growth: As the plants grow taller, continue to tie them to the horizontal lines of the trellis. Be gentle when securing the stems to prevent any damage.
Step 8: Prune and Train the Tomato Plants
- Remove side shoots: As your tomatoes grow, you’ll need to prune the side shoots (also called suckers) that develop between the main stem and branches. Removing these will encourage vertical growth and ensure the plant puts its energy into producing fruit.
- Monitor growth: Continue to check on the plants regularly and adjust the ties to prevent them from becoming too tight. Make sure the plants stay vertical and don’t begin to lean.
Step 9: Monitor and Maintain the Trellis and Plants
- Check for pests: Keep an eye on your plants for signs of pests like aphids, hornworms
, or spider mites. You can treat these issues organically using neem oil or insecticidal soap.
- Water and fertilize: Make sure to water your tomatoes regularly, especially during dry spells. Fertilize every few weeks with a balanced fertilizer or one that is high in phosphorus for healthy fruit development.
- Support heavier plants: As the tomatoes grow larger, they may require additional support. Use extra twine or soft ties to help support the weight of the plants and prevent breakage.
Step 10: Harvesting and Enjoying the Fruits of Your Labor
After all the hard work, it’s time to enjoy the fruits of your labor:
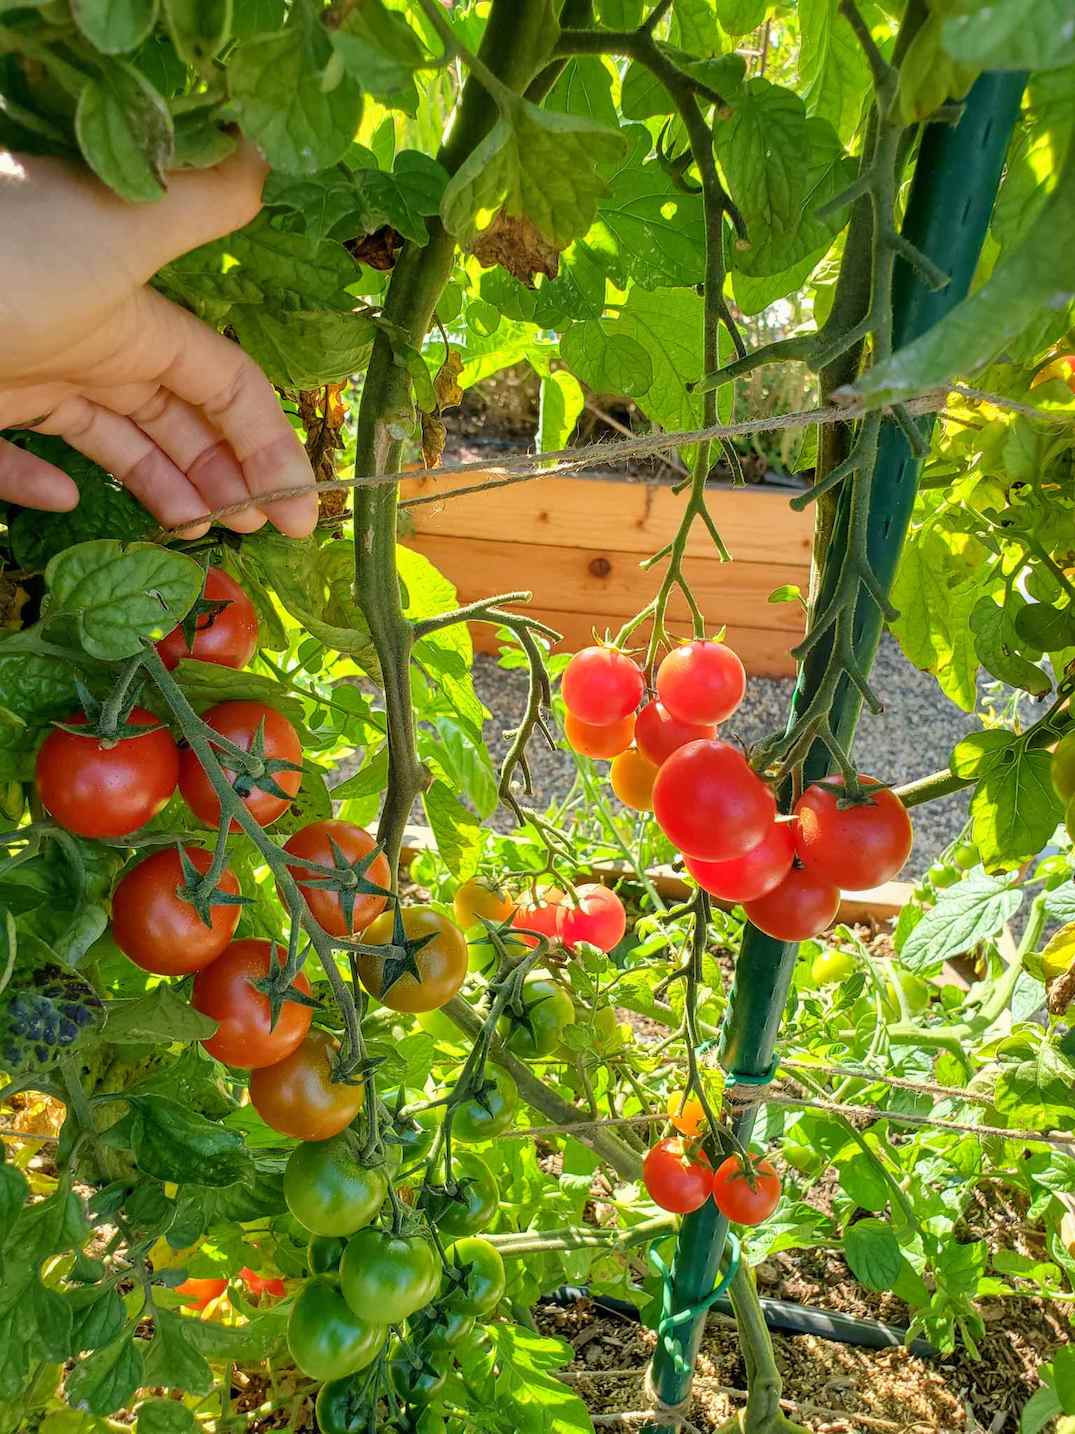
- Harvest when ripe: Pick your tomatoes when they’re fully ripe, with their color fully developed. Gently twist or cut the fruit from the vine.
- Enjoy: Whether you’re making a salad, canning, or enjoying them fresh off the vine, homegrown tomatoes are delicious!
Conclusion
Building a tomato trellis is one of the most rewarding gardening projects you can undertake. Not only will it help you grow stronger, healthier tomatoes, but it will also maximize your garden space and make your tomato-growing experience much easier and more enjoyable. By following these detailed steps, you’ll create a sturdy and reliable trellis that will support your plants throughout the growing season, ensuring you get the best possible yield from your homegrown tomatoes.
Happy gardening, and enjoy your bountiful tomato harvest!
This longer version provides further depth, tips, and explanations for each step, making it even easier for gardeners of all skill levels to successfully build and maintain their tomato trellis.