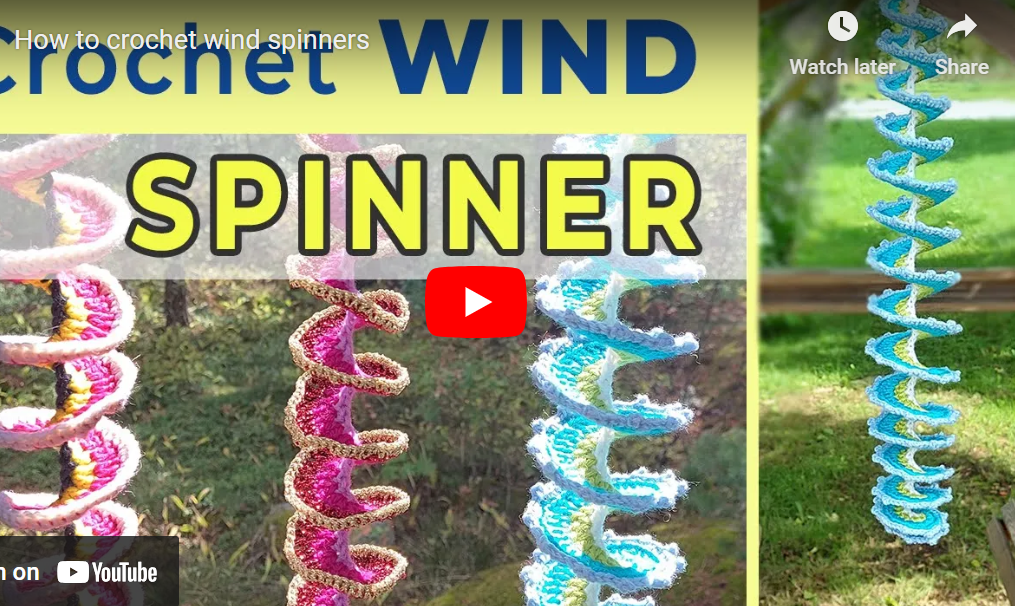
Crocheted wind spinners are trending right now, so I decided to create my own version. These spinners are a fantastic way to use up scrap yarn and add a colorful, whimsical touch to your garden, terrace, or balcony. You can get creative and make each spinner unique, and for an added festive touch, consider wrapping battery-powered lights around them. Let’s dive into the process of making these delightful wind spinners.
Materials Needed
- Up to four different colors of yarn (leftover yarns work great)
- A 4mm crochet hook (I prefer Clover Amour)
- Optional: battery-powered lights for decoration
Step-by-Step Instructions
Starting the Spinner
- Foundation Chain: Begin with a chainless foundation to create a strong base. Make a slip knot and chain two. Insert the hook into the first chain, yarn over, and pull through one loop to form a chain. Yarn over again and pull through both loops on the hook to make a single crochet. Repeat this process, inserting the hook into the left side of the previous stitch and continuing until you reach the desired length for your spinner.
Creating the Spiral
- First Row: Using American crochet terms (single crochet in British terms is double crochet), make the first row with single crochets. If you prefer, you can start with a regular chain and then make a row of single crochets.
- Mark the Start: Place a stitch marker at the beginning of your piece to remember where to start the next row. This ensures your stitches remain uniform and helps track your progress.
- Second Color: Introduce your second color of yarn. You can make the spinner straight or tapered. For a tapered effect, start with single crochets, then transition to half double crochets, and finally double crochets, increasing by two stitches in each stitch to create the spiral.
Building the Spiral
- Increase and Taper: Continue making two stitches in each stitch, alternating between single, half double, and double crochets to achieve the desired taper. If you want a straight spinner, use only double crochets.
- Final Rows: For the third row and beyond, you can add variety by chaining one between each set of double stitches. This helps the spiral expand naturally. Continue this pattern until you reach the end.
Edging and Finishing
- Edging: For a polished look, add an edging with a contrasting color. You can choose to add picots or simple single crochets in the back loop of the previous row’s stitches. If you prefer, you can also use glitter yarn for a festive touch.
- Shape and Secure: Once your spinner is complete, shape it by laying it flat under some weights or gently steaming it, depending on the yarn type. Add tassels, pom-poms, or beads to the bottom for extra flair.
- Hanging: Attach a strong but lightweight cord to hang your spinner. Ensure it’s secure enough to withstand wind but light enough to allow the spinner to rotate freely.
Conclusion
Your crocheted wind spinner is now ready to hang and enjoy. It’s a beautiful, creative project that adds charm to any outdoor space. Happy crocheting!
If you enjoyed this tutorial, please like the video and subscribe to my channel for more crafty projects. Check out my other home crochet projects for more inspiration. Until next time!