Growing peanuts at home can be a fun and rewarding experience. Not only will you have a fresh supply of peanuts for snacking, but it’s also a great way to learn about plant growth and cultivation. This guide will take you through the entire process of growing peanuts, from selecting seeds to harvesting your crop.
Materials You’ll Need:
- Peanut Seeds (Raw, unprocessed peanuts with shells)
- Garden Plot or Container (Peanuts need space to spread out)
- Organic Compost (To enrich the soil)
- Garden Trowel (For planting)
- Organic Fertilizer (To provide nutrients)
- Garden Gloves (For protection)
- Watering Can or Hose (To water the plants)
- Mulch (To retain moisture and suppress weeds)
- Garden Markers (To mark rows or varieties)
- Pest Control Measures (If necessary)
Step 1: Selecting the Right Peanut Seeds
To begin, you need to select raw, unprocessed peanuts that have not been roasted, salted, or chemically treated. These are the best seeds for growing peanuts. You can find these at your local grocery store, or you may choose to buy them from a gardening supply store or online. Look for varieties that are known to grow well in your climate.
Step 2: Germinating the Peanut Seeds
- Soak the Seeds: Place the peanut seeds in a bowl of water and let them soak for 24 hours. Soaking helps soften the seed coat, which can speed up the germination process.
- Plant the Seeds: After soaking, it’s time to plant. Dig holes about 1 to 1.5 inches deep in your garden plot or container. Space the seeds about 4 inches apart and keep rows about 24 inches apart to give the plants room to grow.
- Soil Preparation: Peanuts prefer loose, well-draining soil that is rich in organic matter. Mix compost into the soil to improve fertility. If your soil is dense or clay-like, adding organic matter like compost will help with aeration and drainage.
Step 3: Caring for Your Peanut Plants
- Watering: Peanuts need consistent moisture but don’t like waterlogged soil. Aim to water the plants with about 1 to 1.5 inches of water per week, especially during flowering and pod formation stages.
- Mulching: Cover the soil with a layer of mulch to help retain moisture and prevent weeds from competing with your peanut plants. Mulch also helps keep the soil temperature steady, which is beneficial for root development.
- Fertilizing: Apply an organic, balanced fertilizer during planting and again when the plants start to flower. Peanuts don’t require excessive fertilizer, but a little boost during the growing season will help them thrive.
- Pruning: As your peanut plants grow, they may start to become bushy with too many branches. Pruning can help encourage better airflow and growth, as well as maximizing peanut production by focusing the plant’s energy on pod formation.
Step 4: Harvesting Your Peanuts
- Time Your Harvest: Peanuts are typically ready to harvest about 120 to 150 days after planting, depending on the variety and growing conditions. Check your seed packet for an estimated time range.
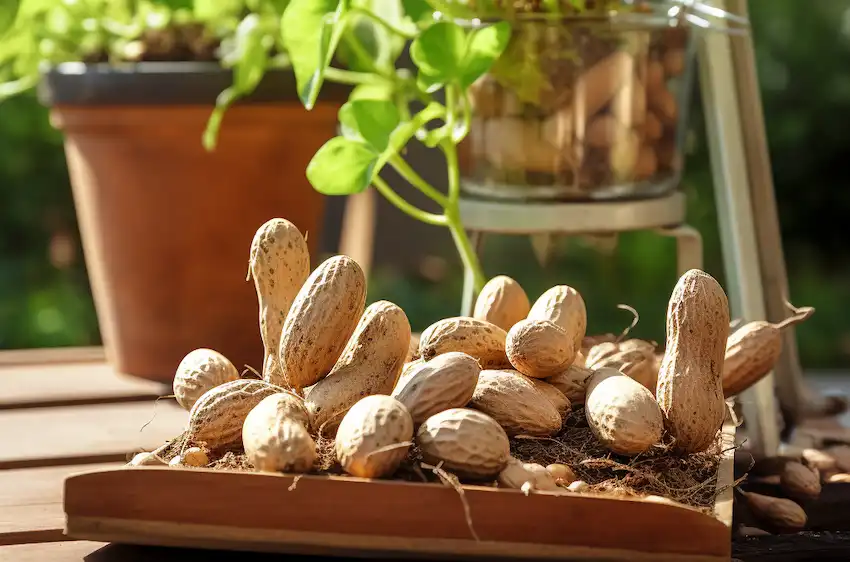
- Check for Readiness: To check if your peanuts are ready for harvest, gently dig up a plant and inspect the pods. The peanuts should have turned a mature, dark color and be plump and firm.
- Harvest the Peanuts: Once ready, carefully dig up the entire plant. Shake off the loose soil, then gently remove the peanuts from the plant. Be sure to handle the peanuts carefully so you don’t damage the pods.
- Drying the Peanuts: Allow the peanuts to air-dry in the sun for a day or two to remove excess moisture. Then, cure them by letting them dry for two to three weeks in a warm, dry place. Be sure to protect the peanuts from rain during this drying period.
- Storing the Peanuts: Once your peanuts are thoroughly dried, store them in a cool, dry place. Use breathable containers like mesh bags or shallow baskets to keep them from becoming moldy.
Conclusion
Growing peanuts at home is not only enjoyable but also incredibly rewarding. With the right seeds, soil, and care, you can harvest your own fresh, homegrown peanuts. This step-by-step process provides a great starting point for anyone looking to cultivate peanuts in their garden or backyard. So, grab your gardening tools, get your seeds, and start planting—you’ll soon be enjoying the delicious taste of fresh peanuts grown right at home! Happy gardening!