Growing turmeric in containers is a versatile way to cultivate this vibrant and flavorful spice, regardless of your hardiness zone. With the right approach, you can successfully nurture turmeric plants at home and enjoy their aromatic rhizomes. Here’s a step-by-step guide:
1. Choosing Healthy Turmeric Rhizomes
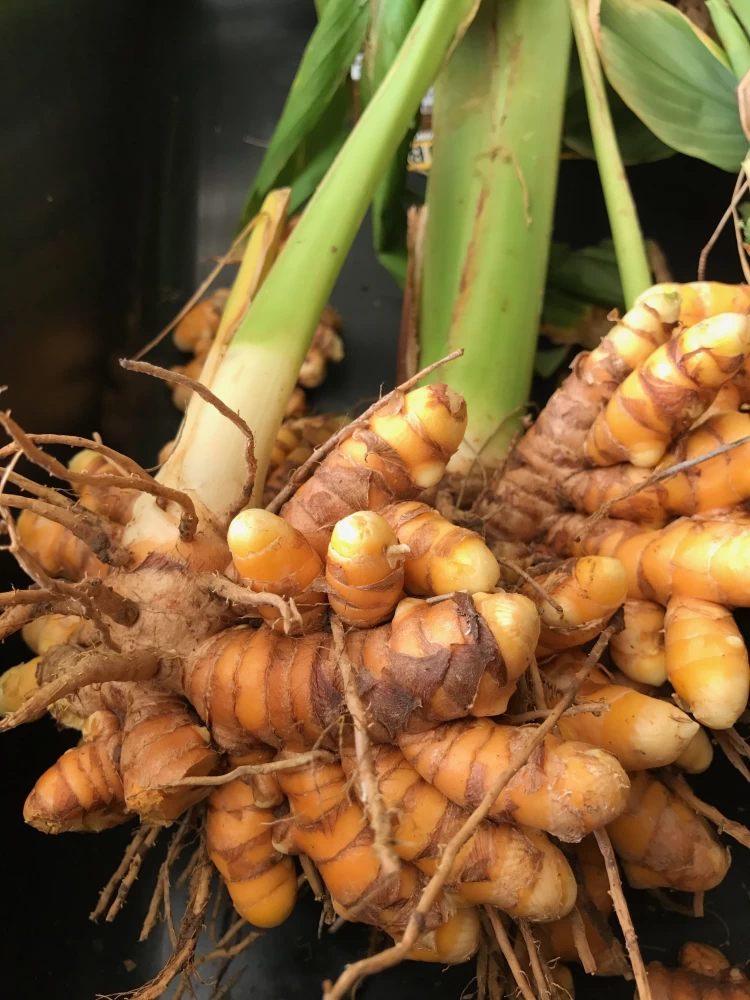
- What to Look For: Select firm, fresh rhizomes with visible buds or “eyes,” which are the growth points.
- Where to Buy: Garden centers, organic grocery stores, or online nurseries.
2. Selecting the Right Container
- Size Matters:
- Minimum 12 inches deep and 12–18 inches in diameter.
- Larger containers can accommodate multiple rhizomes.
- Drainage: Ensure proper drainage holes to prevent waterlogging. Use a saucer underneath if growing indoors.
3. Preparing the Soil
- Soil Mix: Use a well-draining potting mix enriched with:
- Organic compost
- Aged manure
- A small amount of perlite or sand to improve drainage.
- pH Level: Slightly acidic to neutral soil (pH 5.5–7.0).
4. Planting the Rhizomes
- Depth: Bury rhizomes about 2 inches deep with buds facing upward.
- Spacing: If planting multiple rhizomes, leave at least 6 inches between them to allow room for growth.
- Timing: Plant in early spring or after the last frost if outdoors.
5. Providing Optimal Growing Conditions
- Light:
- Provide 4–6 hours of indirect sunlight daily.
- Use grow lights if natural light is insufficient.
- Temperature:
- Ideal range: 68–86°F (20–30°C).
- Move indoors or into a greenhouse if temperatures fall below 50°F (10°C).
- Humidity:
- Turmeric thrives in humid environments. Use a humidifier or mist the plant occasionally if growing indoors in dry climates.
6. Watering and Fertilizing
- Watering:
- Keep the soil consistently moist but not soggy.
- Reduce watering during the dormant season (fall/winter).
- Fertilizing:
- Apply a balanced organic fertilizer every 4–6 weeks during the growing season.
- Supplement with compost tea or liquid seaweed for added nutrients.
7. Caring for the Plant
- Pruning: Trim yellow or dying leaves to direct the plant’s energy to healthy growth.
- Pest Control: Watch for spider mites, aphids, or fungal issues. Use neem oil or insecticidal soap if needed.
8. Harvesting Turmeric
- When to Harvest: After 7–10 months, when the leaves and stems start browning and drying out.
- How to Harvest:
- Gently loosen the soil around the rhizomes using a hand trowel.
- Carefully extract the rhizomes without damaging them.
- Wash thoroughly to remove all soil.
9. Post-Harvest: Curing and Storing
- Curing:
- Boil the rhizomes for 30–45 minutes to enhance flavor and shelf life.
- Dry them in a shaded, well-ventilated area for at least 7–10 days.
- Storage:
- Store dried rhizomes in an airtight container in a cool, dark place.
- Grind into turmeric powder for culinary use or keep whole for extended storage.
10. Overwintering Turmeric in Colder Zones
- Indoors: Move containers indoors when temperatures drop below 50°F (10°C).
- Dormancy Care: Reduce watering, but keep the soil lightly moist. Ensure adequate light and humidity.
Bonus Tips for Success
- Mulching: Add organic mulch like straw or wood chips to retain moisture and regulate soil temperature.
- Companion Plants: Grow with ginger, lemongrass, or basil for pest control and a tropical garden vibe.
- Continuous Harvest: Divide rhizomes annually and replant for a sustainable turmeric supply.
By following these steps, you can enjoy homegrown turmeric year-round, even in non-tropical climates. Whether you use it for cooking, health benefits, or its vibrant color, growing turmeric in containers is a satisfying addition to any gardener’s repertoire.