Thuja, commonly referred to as arborvitae, is a highly sought-after evergreen shrub known for its elegant, dense foliage and ability to thrive in a variety of landscapes. While propagating Thuja through seeds is a slow and sometimes unpredictable process, propagating it from cuttings is a much faster and more reliable way to produce new plants. The method of using aloe vera gel in the propagation process has gained popularity due to aloe’s natural rooting hormones that promote faster root development and protect the cuttings from infections. This comprehensive step-by-step guide will walk you through the process of propagating Thuja from cuttings using aloe vera, ensuring a high success rate.
Materials Needed:
Before you begin, make sure you have all the necessary tools and materials. These include:
- Healthy Thuja (arborvitae) plant: Select a strong, healthy, and disease-free parent plant from which you will take cuttings.
- Fresh aloe vera leaf or pure aloe vera gel: Aloe vera is rich in natural rooting hormones that help stimulate root growth.
- Clean, sharp pruning shears or scissors: Sharp tools help make clean cuts that prevent injury to the plant and reduce the risk of disease.
- Small pots or containers: These will hold your cuttings as they root. Opt for containers that have drainage holes.
- Well-draining potting mix: A potting mix or a combination of sand and peat moss works well for Thuja cuttings.
- Rooting hormone (optional): Rooting hormone can enhance root development but is not mandatory.
- Spray bottle: This is used for misting the cuttings to maintain humidity.
- Clear plastic bags or plastic wrap: These will create a humid environment for the cuttings.
- Rubber bands or string: Used to secure plastic wrap or bags over the pots.
- A warm, well-lit area: Choose a location with indirect light, as direct sunlight may be too harsh for young cuttings.
Step-by-Step Guide to Propagating Thuja from Cuttings Using Aloe Vera:
1. Select the Parent Plant
Choose a healthy and disease-free Thuja plant from which you will take your cuttings. The best time to propagate Thuja is during the spring or early summer when the plant is actively growing. Opt for softwood or semi-hardwood branches, as these types of growth are easier to root. Softwood cuttings are young, flexible growths, while semi-hardwood cuttings come from slightly older, firmer branches. Avoid using mature, woody branches as they are more difficult to root.
2. Prepare Your Equipment
Clean and sterilize your pruning shears or scissors to reduce the risk of introducing diseases to your cuttings. You can do this by wiping the tools with rubbing alcohol or using a 10% bleach solution. Clean, sharp tools will ensure that your cuts are clean, reducing the chance of infection and improving the overall chances of success.
3. Take the Cuttings
Select a healthy branch and cut a 4-6 inch piece of the Thuja stem, making sure the cutting has several healthy leaves attached. Cut just below a leaf node (the area where leaves are attached to the stem). Make an angled cut to increase the surface area, which can promote rooting. Be sure not to take too many cuttings from the parent plant—this could stress the plant and inhibit its growth.
4. Prep the Aloe Vera
If you have an aloe vera plant at home, cut off a leaf and slice it open to expose the gel. Aloe vera gel is packed with natural growth hormones that can stimulate root formation. If you don’t have an aloe vera plant, you can use pure aloe vera gel from a store, ensuring it’s free from additives like fragrance or preservatives. The fresh gel from a leaf is preferable, as it contains the highest concentration of active compounds.
5. Dip Cuttings in Aloe Vera
Take the freshly cut end of each Thuja cutting and dip it into the aloe vera gel. Aloe vera will coat the cut end and help protect it against infection while encouraging the development of new roots. Gently dip the end into the gel and ensure it’s covered evenly. Aloe vera gel’s natural properties will also prevent the cuttings from drying out, which is a common issue during propagation.
6. Optional: Use Rooting Hormone
While aloe vera alone provides natural rooting hormones, you can also use commercial rooting hormone powder for additional root stimulation. Dip the cut end of the cutting into the rooting hormone before applying the aloe vera gel. This step is optional but can increase your chances of success. Make sure not to overuse the hormone—just a light dusting is sufficient.
7. Prepare the Potting Mix
Choose a well-draining potting mix to ensure the cuttings do not sit in water, which can lead to rot. You can mix equal parts of sand, peat moss, and perlite for an ideal rooting mix. Fill small pots or containers with the prepared mix, making sure there are drainage holes at the bottom. Water the mix to moisten it, but ensure it is not soggy.
8. Plant the Cuttings
Insert the treated end of each Thuja cutting into the moist potting mix. Make sure the cutting is planted deep enough to keep it stable but not buried too deeply. You can plant multiple cuttings in the same pot, but space them a few inches apart to allow for root development. Press the soil gently around the cutting to hold it in place.
9. Create a Mini Greenhouse
To maintain humidity, cover the pot with clear plastic wrap or place it inside a clear plastic bag. Secure the plastic with rubber bands or string. This will create a mini greenhouse environment that keeps moisture levels high and reduces the chances of the cuttings drying out. Be sure to leave small openings for ventilation to prevent the growth of mold or fungi.
10. Provide Adequate Light and Temperature
Place the pots in a warm, well-lit area but out of direct sunlight. Direct sunlight can scorch the cuttings, so ensure they receive only indirect light. A temperature of 65-75°F (18-24°C) is ideal for Thuja cuttings. Too high or too low a temperature can stress the cuttings and slow root development.
11. Maintain Moisture
Mist the cuttings regularly with a spray bottle to maintain high humidity. Keep an eye on the soil moisture as well—ensure it stays moist but not soggy. Overwatering can cause the cuttings to rot, while too little moisture can cause them to dry out. It’s essential to strike the right balance of moisture to encourage rooting.
12. Monitor and Wait for Roots to Develop
Root development can take several weeks. Be patient during this process and avoid disturbing the cuttings. You can gently tug on the cuttings after about 4-6 weeks to check for resistance, which indicates that roots have formed. If the cuttings pull out easily, they are still rooting and need more time.
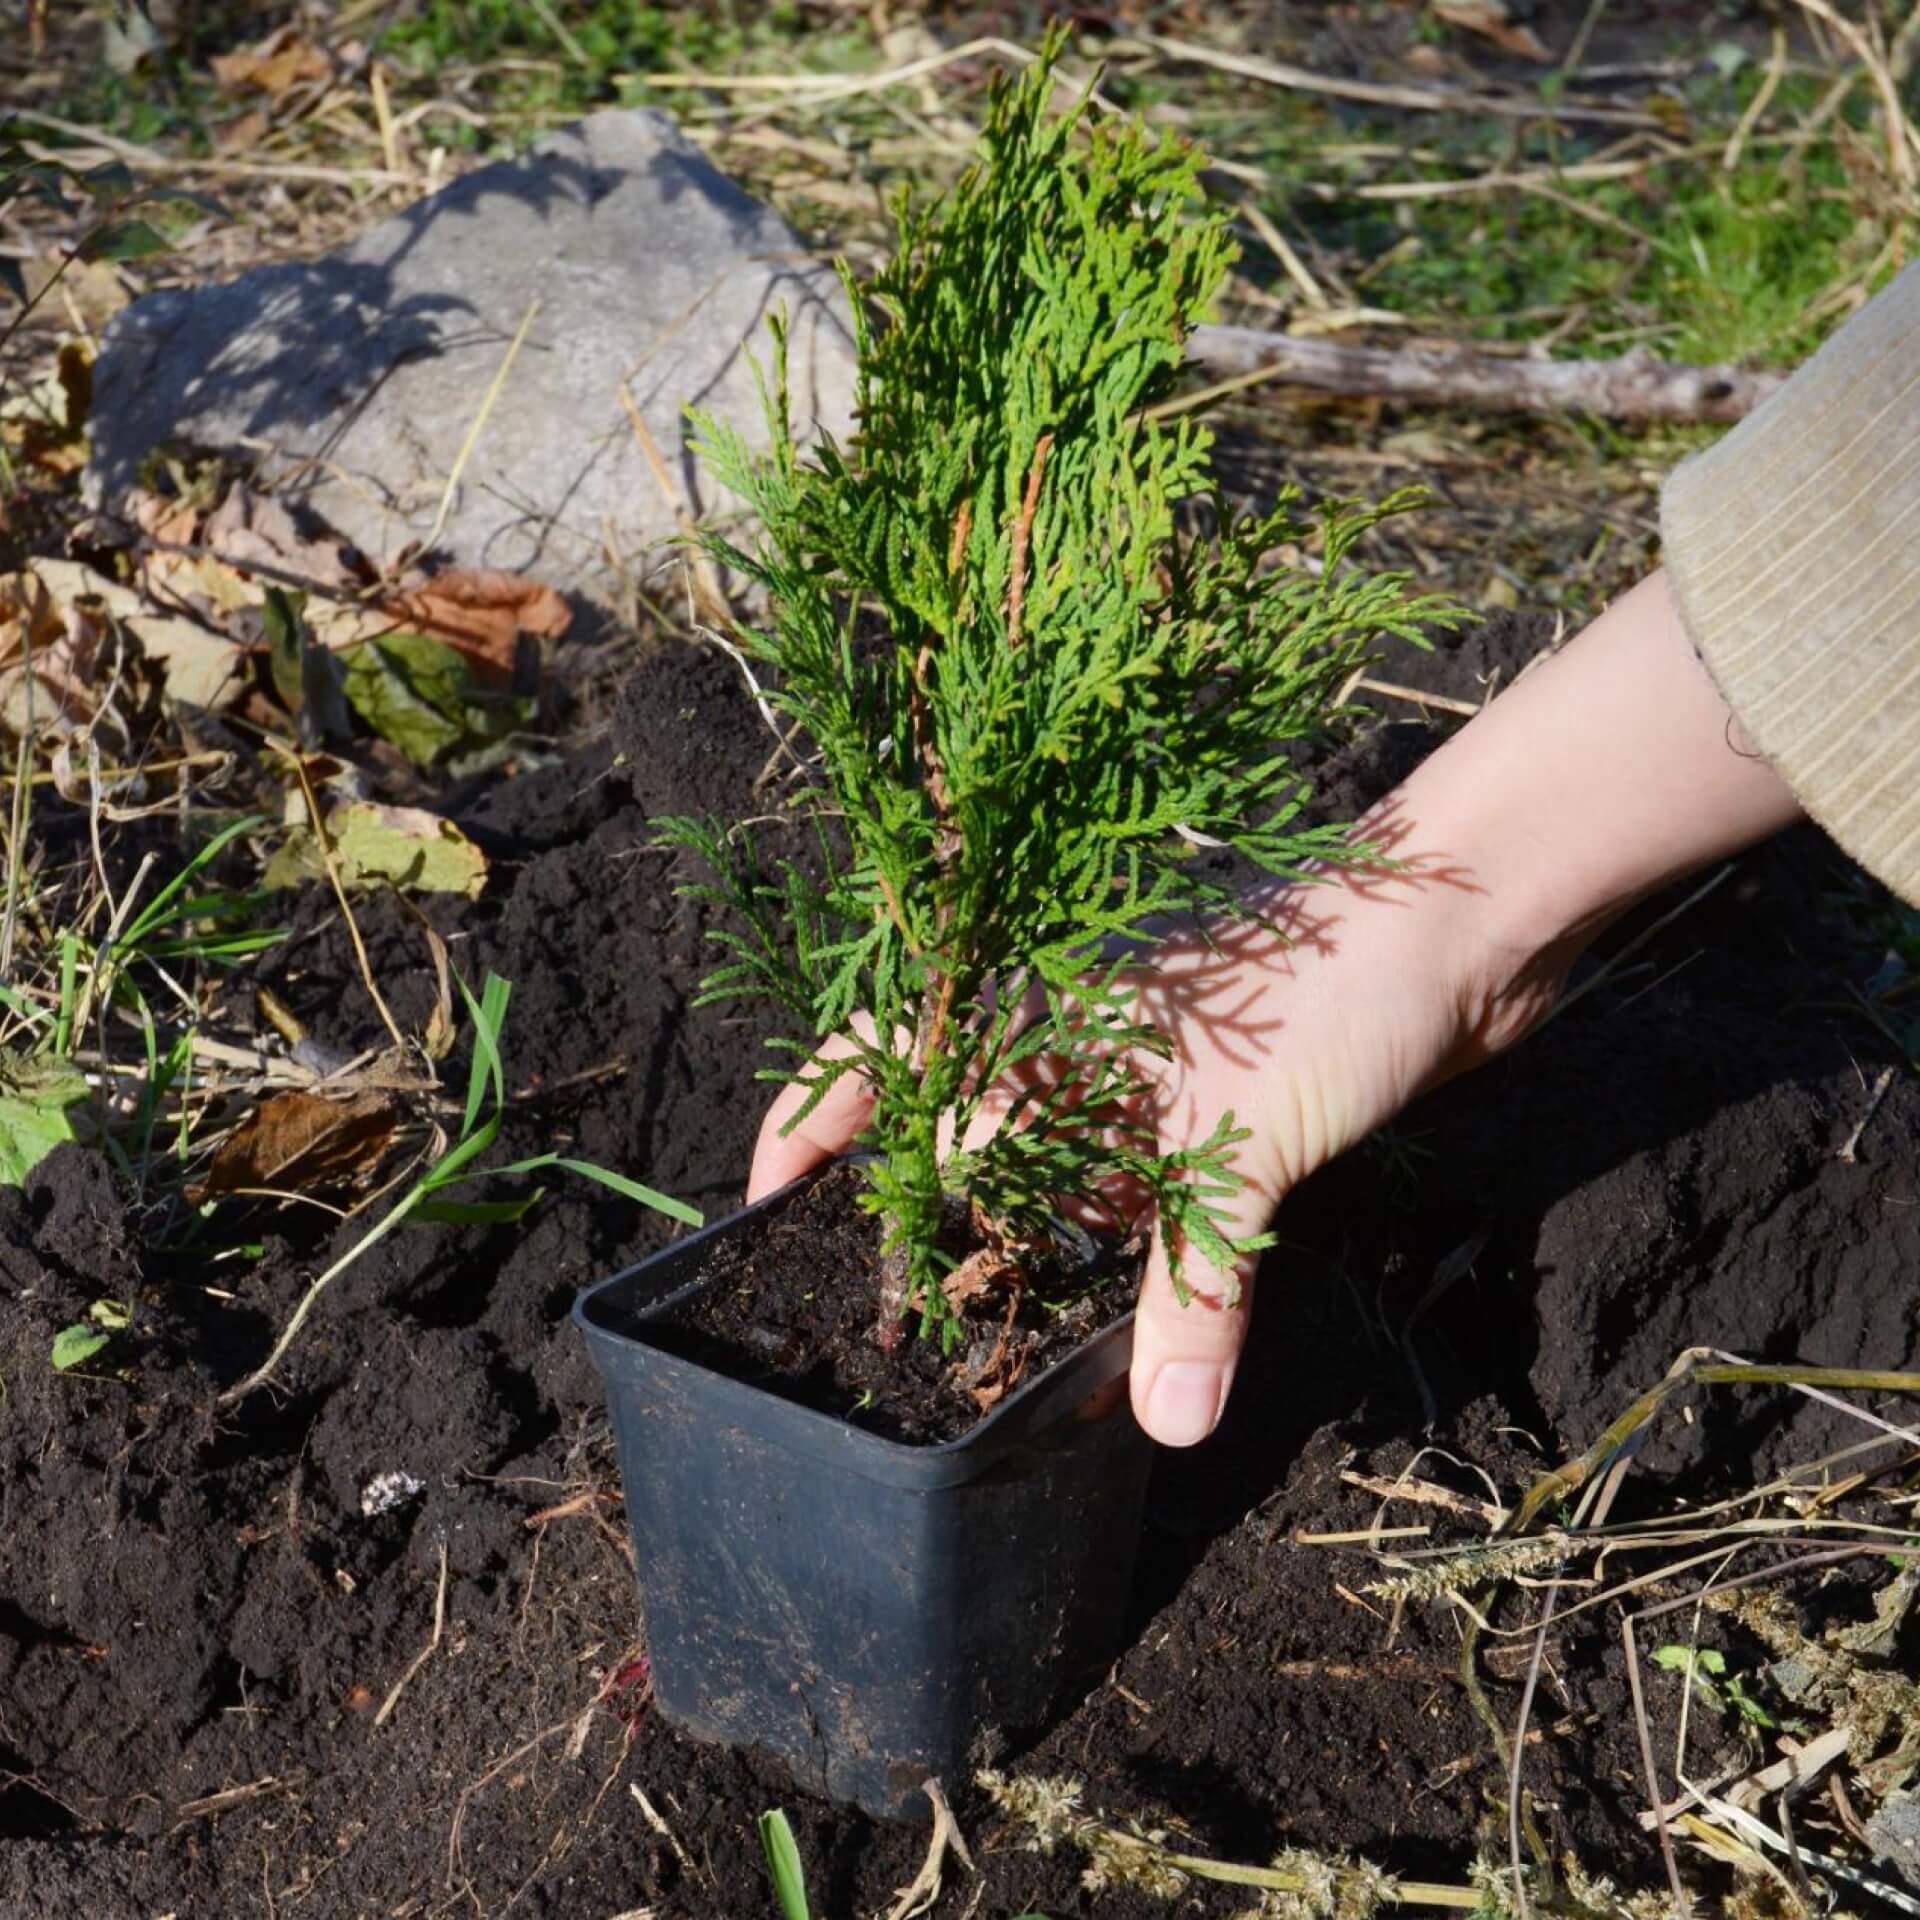
13. Transplant the Rooted Cuttings
Once the Thuja cuttings have established a strong root system, they are ready to be transplanted into larger pots or directly into the garden. To harden them off, gradually introduce them to outdoor conditions by placing them outside for short periods, increasing the exposure over time. This will help them acclimate to their new environment and prevent shock when planting outdoors.
Conclusion:
Propagating Thuja from cuttings using aloe vera is a simple yet effective method that leverages the natural rooting properties of aloe vera gel to stimulate root growth and enhance the chances of successful propagation. By following these detailed steps, you can easily propagate new Thuja plants and enjoy a lush, green addition to your garden. Remember that patience is key—rooting takes time—but with the right care and attention, you’ll soon have thriving Thuja plants ready to be transplanted into your landscape.