Easy Clove Growing: From Seed to Spice
Growing a clove plant from seeds is a rewarding process that brings the aromatic spice straight to your garden. Follow this comprehensive guide to germinate, plant, and nurture clove plants with ease.
Step 1: Germinating Clove Seeds
Materials Needed:
- Fresh clove seeds (choose healthy, plump ones)
- Small pots or seed trays
- Well-draining potting soil
- Plastic wrap or a clear cover
- Warm water
Steps to Germinate:
- Selecting Seeds: Pick fresh, unbroken cloves for planting. Freshness greatly enhances the chances of germination.
- Soaking Seeds: Soak the seeds in warm water for 24 hours to soften their hard shells, making it easier for them to sprout.
- Preparing Containers: Fill small pots or seed trays with well-draining potting soil, leaving about an inch of space at the top.
- Planting Seeds: Place the soaked seeds about 1 inch deep into the soil. Use one seed per pot or space them evenly in trays.
- Covering Pots: Cover the pots or trays with plastic wrap to create a mini greenhouse effect. This keeps the environment warm and moist, ideal for germination.
- Maintaining Moisture and Warmth: Keep the soil consistently moist, but avoid overwatering. Position the containers in a warm spot with indirect sunlight.
- Germination Time: Be patient! Clove seeds can take several weeks to sprout. Once you see green shoots, remove the plastic wrap and gradually introduce the seedlings to filtered sunlight.
Step 2: Planting Clove Seedlings
Materials Needed:
- Larger pots with drainage holes
- Rich, well-draining potting mix
- Balanced, slow-release fertilizer or organic fertilizer
Steps to Transplant and Grow:
- Transplanting: Once seedlings have 2–3 sets of true leaves and look sturdy, move them to larger pots filled with well-draining potting mix.
- Soil Care: Keep the soil moist but not soggy. Overwatering can harm the roots.
- Fertilizing: Use a balanced, slow-release or organic fertilizer sparingly to nourish the growing plants.
Step 3: Caring for Your Clove Plants
Proper care ensures your clove plants grow strong and healthy.
Light and Temperature:
- Clove plants thrive in warm, humid environments with partial shade.
- Ideal temperatures range from 60°F to 90°F (15°C to 32°C).
Watering:
- Keep the soil consistently moist. Water when the top inch of soil feels dry, avoiding waterlogged conditions.
Humidity:
- High humidity levels are crucial for clove plants. Increase humidity by misting regularly or using a humidifier near the plants.
Pruning:
- Prune occasionally to encourage bushy growth and remove dead or damaged leaves.
Step 4: Harvesting Cloves
Clove plants take several years to mature, but patience will reward you with fresh, aromatic cloves.
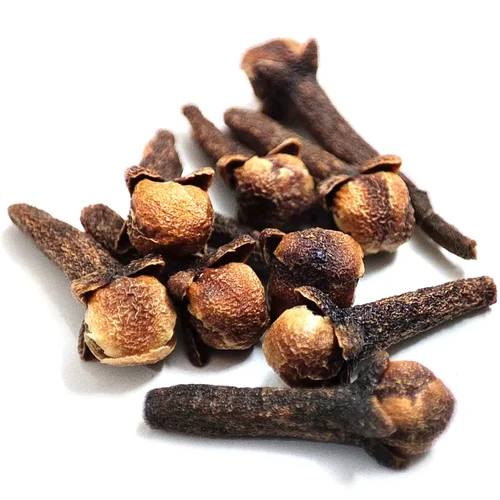
- Harvest Time: Wait until the flower buds turn pink or reddish but haven’t fully opened.
- Drying the Cloves: Collect the buds and dry them in a shaded, well-ventilated area until they become hard and brittle.
Conclusion
Growing a clove plant is a long-term yet fulfilling endeavor. With the right steps and proper care, you can transform a simple clove seed into a thriving plant that yields the spice we love in both cooking and natural remedies. Remember, patience and consistency are the keys to success!